Introduction
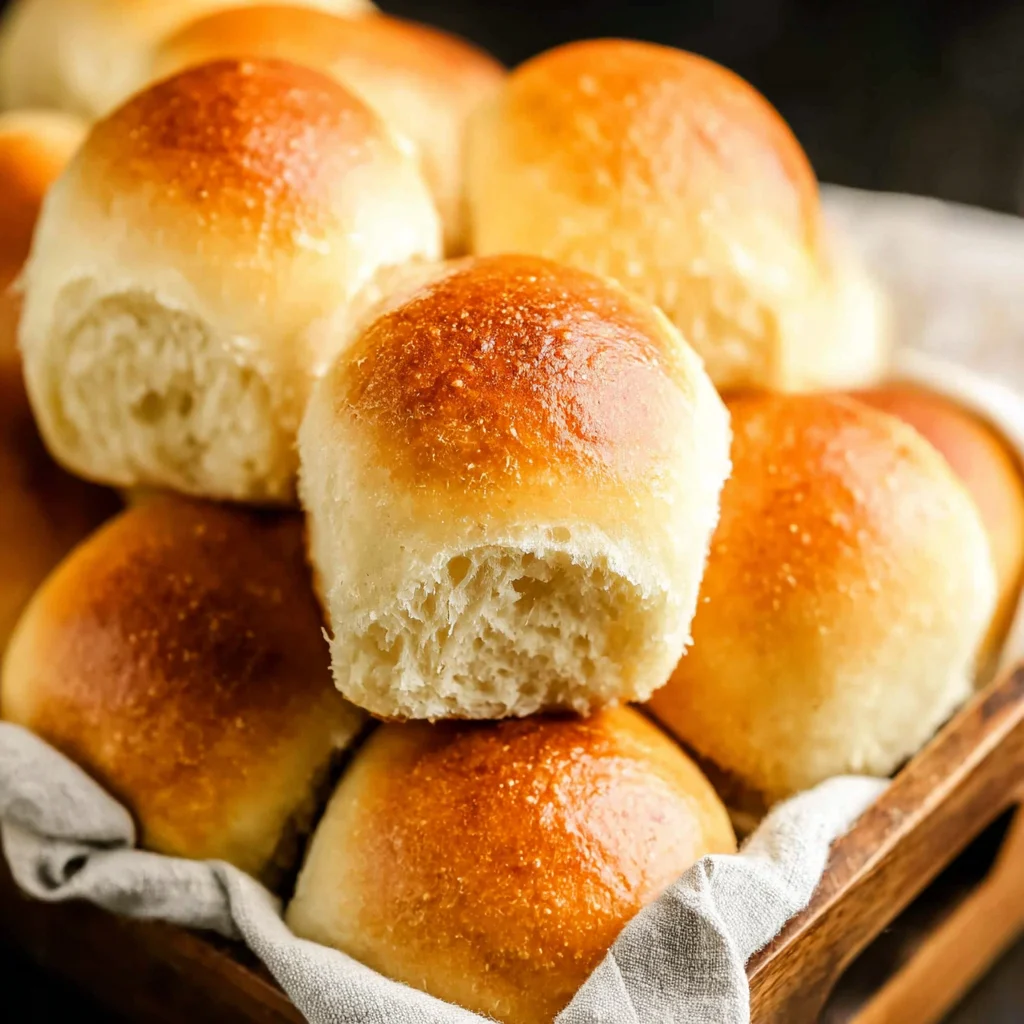
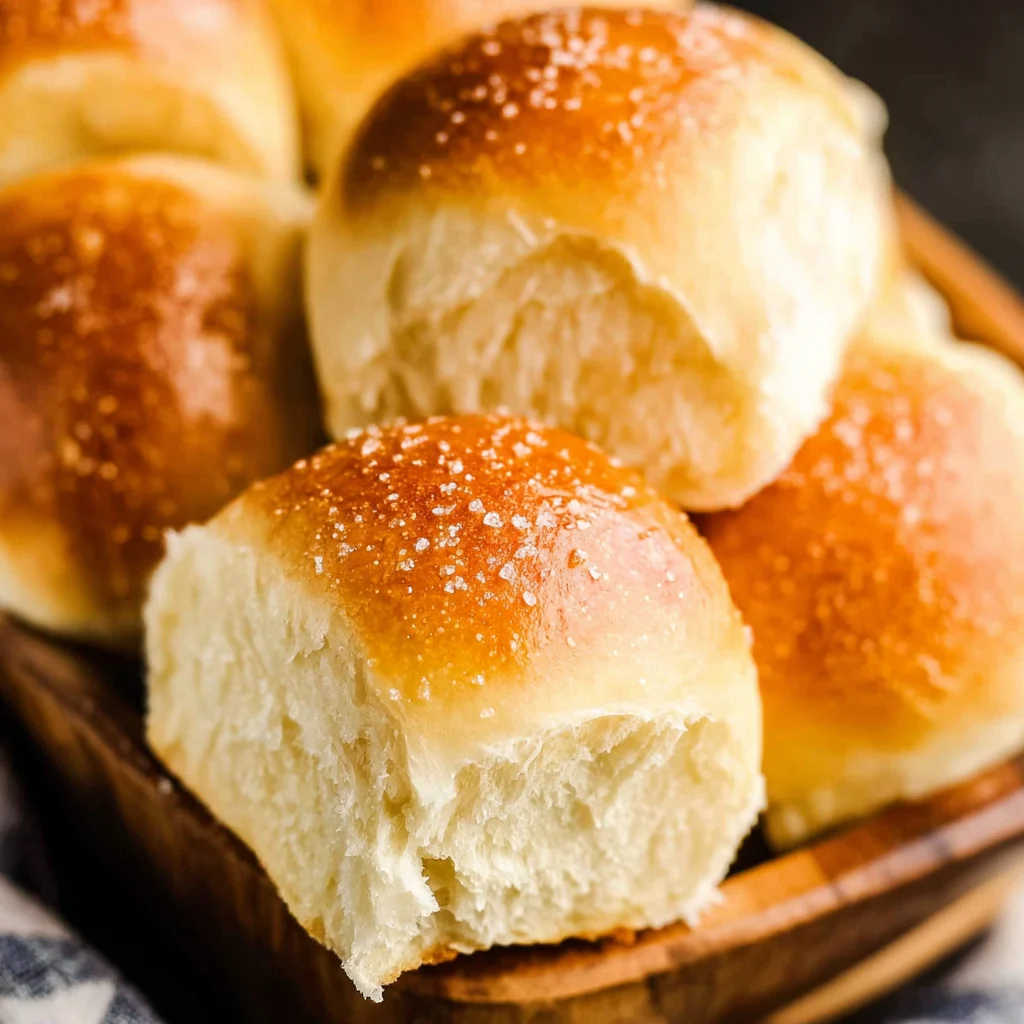
Nothing beats the aroma of freshly baked best dinner rolls wafting through your kitchen, creating that perfect warm welcome for family and guests. These pillowy-soft rolls have graced my grandmother’s table for decades, and now I’m sharing this foolproof recipe that delivers bakery-quality results every single time. What makes these rolls truly special is their incredibly tender crumb and golden, buttery exterior that practically melts in your mouth.
Ingredients List
For the Rolls:
- 3½ cups all-purpose flour
- 2¼ teaspoons active dry yeast (1 packet)
- 2 tablespoons granulated sugar
- 1 teaspoon salt
- 1 cup warm milk (110°F)
- ⅓ cup unsalted butter, melted
- 1 large egg, room temperature
For Brushing:
- 2 tablespoons melted butter
Substitution Tips: You can replace all-purpose flour with bread flour for extra chewiness, use honey instead of sugar for deeper flavor, or substitute buttermilk for regular milk to add subtle tang.
Timing
Prep Time: 20 minutes
Rising Time: 1 hour 30 minutes
Cook Time: 15 minutes
Total Time: 2 hours 5 minutes
Make-Ahead Tip: Shape the rolls and refrigerate overnight, then let them come to room temperature and rise before baking.
How to Make It
1. Activate the Yeast
In a large mixing bowl, combine warm milk, sugar, and yeast. Stir gently and let stand for 5-10 minutes until the mixture becomes foamy and bubbly on top. This foaming action tells you the yeast is alive and ready to create those beautiful air pockets that make dinner rolls so fluffy. If your mixture doesn’t foam, your yeast might be expired or your milk too hot.
2. Create the Dough
Add the melted butter, egg, and salt to the yeast mixture, whisking until well combined. Gradually add the flour, one cup at a time, mixing with a wooden spoon until a soft dough forms. The dough should feel slightly sticky but manageable – this moisture is what creates the tender texture we’re after. If the dough feels too wet, add flour one tablespoon at a time.
3. Knead to Perfection
Turn the dough onto a lightly floured surface and knead for 8-10 minutes until it becomes smooth and elastic. You’ll know it’s ready when you can stretch a small piece thin enough to see light through it without tearing. This gluten development is crucial for creating rolls that rise beautifully and have the perfect chewy-tender texture.
4. First Rise
Place the dough in a greased bowl, turning once to coat all sides. Cover with a damp kitchen towel and let rise in a warm, draft-free spot for about 1 hour, or until doubled in size. The dough should spring back slowly when gently poked – this indicates proper fermentation that develops incredible flavor.
5. Shape the Rolls
Punch down the risen dough and turn onto a lightly floured surface. Divide into 12 equal pieces using a bench scraper or knife. Shape each piece into a smooth ball by tucking the edges underneath and rolling between your palms. Place the shaped rolls on a greased 9×13 inch baking pan, spacing them about 2 inches apart. This allows room for the final rise while ensuring they’ll bake together for soft sides.
6. Final Rise and Bake
Cover the shaped rolls and let rise for 30 minutes until puffy and nearly touching. Meanwhile, preheat your oven to 375°F. Brush the tops gently with melted butter for that gorgeous golden finish. Bake for 12-15 minutes until the tops are golden brown and the rolls sound hollow when tapped. The internal temperature should reach 190°F for perfectly baked rolls.
Nutritional Information
Each roll contains approximately 180 calories, 5g protein, 28g carbohydrates, and 6g fat. These homemade rolls provide complex carbohydrates and are a good source of B vitamins from the enriched flour. Values are approximate and may vary based on specific ingredients used.
Serving Suggestions
These versatile dinner rolls pair beautifully with hearty soups, roasted meats, or holiday spreads. Serve them warm with honey butter, jam, or alongside your favorite recipe for a complete meal. Plan for 1-2 rolls per person, though you might want extras because they disappear quickly!
Common Mistakes to Avoid
Overheating the milk can kill the yeast – aim for lukewarm, like a comfortable bath. Rushing the rise times leads to dense rolls, so be patient and let the dough double properly. Overkneading can make rolls tough, while underkneading prevents proper gluten development. Opening the oven door during baking causes temperature fluctuations that affect the final texture.
Storing Tips
Store leftover rolls in an airtight container at room temperature for up to 3 days, or freeze for up to 3 months. Reheat in a 350°F oven for 5 minutes wrapped in foil to restore their soft texture and warmth.
Conclusion
These homemade dinner rolls transform any meal into something special with their irresistible fluffy texture and buttery flavor. Try this foolproof recipe and discover why fresh-baked rolls make every gathering more memorable. Share your baking success stories – I’d love to hear how they turned out!
FAQs
Can I make these rolls without a stand mixer?
Absolutely! This recipe works perfectly with hand mixing and kneading. Just allow a few extra minutes for manual kneading to develop the gluten properly.
What if my dough isn’t rising?
Check that your yeast isn’t expired and your rising location is warm enough. Try placing the bowl near a warm oven or in a slightly warmed (then turned off) oven.
Can I use instant yeast instead?
Yes, you can substitute instant yeast in equal amounts. Skip the proofing step and mix it directly with the dry ingredients, then proceed with the liquid ingredients.
How do I know when the rolls are fully baked?
Look for golden-brown tops and tap the bottom – they should sound hollow. An instant-read thermometer should register 190°F when inserted into the center.
Can I freeze unbaked rolls?
Shape the rolls, place on a baking sheet, freeze until solid, then transfer to freezer bags. Thaw, rise, and bake as directed, adding 5-10 extra minutes to rising time. Find more inspiration on our recipe collection!
Best Dinner Rolls
Ingredients
Method
- In a large mixing bowl, combine warm milk, sugar, and yeast. Stir gently and let stand for 5-10 minutes until the mixture becomes foamy and bubbly on top.
- Add the melted butter, egg, and salt to the yeast mixture, whisking until well combined. Gradually add the flour, one cup at a time, mixing with a wooden spoon until a soft dough forms.
- Turn the dough onto a lightly floured surface and knead for 8-10 minutes until it becomes smooth and elastic.
- Place the dough in a greased bowl, turning once to coat all sides. Cover with a damp kitchen towel and let rise in a warm, draft-free spot for about 1 hour, or until doubled in size.
- Punch down the risen dough and turn onto a lightly floured surface. Divide into 12 equal pieces using a bench scraper or knife. Shape each piece into a smooth ball by tucking the edges underneath and rolling between your palms. Place the shaped rolls on a greased 9×13 inch baking pan, spacing them about 2 inches apart.
- Cover the shaped rolls and let rise for 30 minutes until puffy and nearly touching. Meanwhile, preheat your oven to 375°F. Brush the tops gently with melted butter. Bake for 12-15 minutes until the tops are golden brown and the rolls sound hollow when tapped.