Introduction
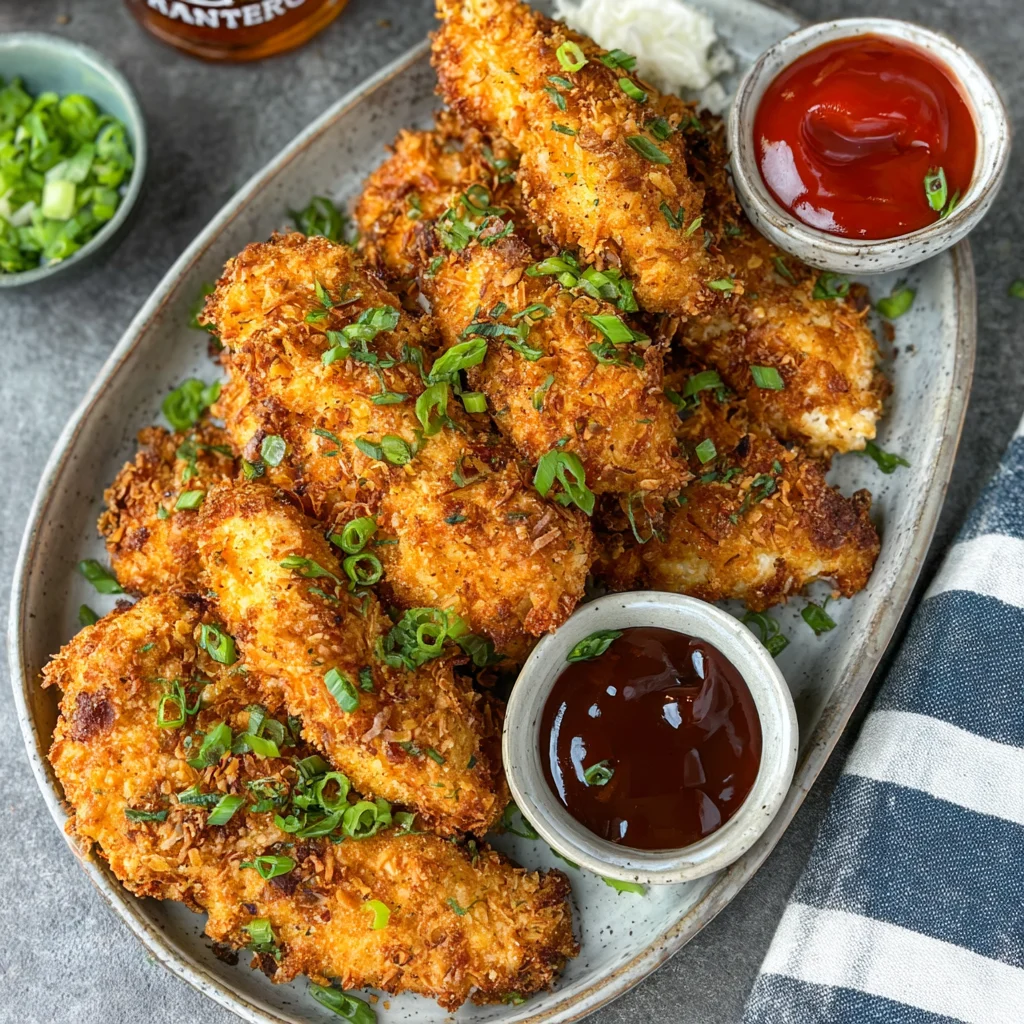
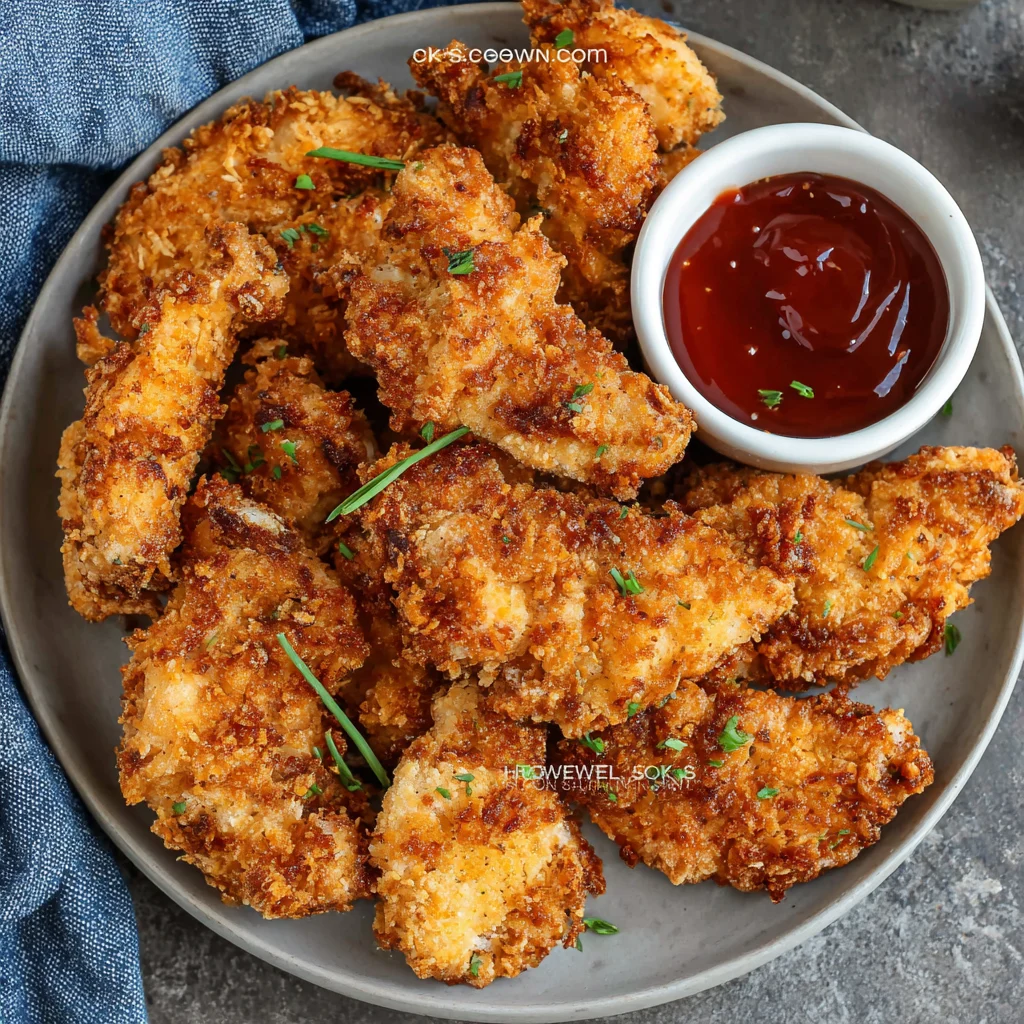
Few foods can match the universal appeal of perfectly golden, crispy chicken tenders. There’s something magical about that satisfying crunch that gives way to juicy, tender meat inside. Growing up, chicken tenders were the ultimate comfort food – the dish that brought families together around the dinner table and turned picky eaters into enthusiastic diners.
What makes these crispy chicken tenders special is the perfect balance of seasoning, the ideal coating technique, and the careful attention to cooking temperature that ensures maximum crispiness without sacrificing moisture. Unlike many restaurant versions that can be greasy or dry, this homemade approach delivers restaurant-quality results with ingredients you likely already have in your pantry. The secret lies in a well-seasoned flour mixture and the double-dipping technique that creates an extra-thick, crunchy coating that stays crispy long after cooking.
Ingredients List
For the Chicken:
- 2 pounds chicken breast, cut into tender-sized strips
- 1 cup buttermilk
- 1 teaspoon salt
- ½ teaspoon black pepper
For the Coating:
- 2 cups all-purpose flour
- 1 tablespoon garlic powder
- 1 tablespoon onion powder
- 2 teaspoons paprika
- 1 teaspoon dried thyme
- 1 teaspoon cayenne pepper (adjust to taste)
- 2 teaspoons salt
- 1 teaspoon black pepper
For Frying:
- Vegetable oil for deep frying (about 6 cups)
Substitution Suggestions:
- Gluten-free option: Replace all-purpose flour with a 1:1 gluten-free flour blend
- Dairy-free alternative: Substitute buttermilk with unsweetened almond milk mixed with 1 tablespoon lemon juice
- Lower sodium: Reduce salt by half and add extra herbs for flavor
- Spice-sensitive: Omit cayenne pepper and reduce paprika
Timing
Total Time: 45 minutes
- Prep Time: 20 minutes (including marinating)
- Cooking Time: 15-20 minutes
- Resting Time: 5 minutes
Time Management Tips:
Start heating your oil while you’re coating the chicken to maximize efficiency. The oil takes about 10 minutes to reach the proper temperature, which aligns perfectly with your coating process. You can marinate the chicken in buttermilk up to 4 hours ahead for even more tender results. If you’re serving these for a party, you can bread the tenders up to 2 hours in advance and keep them refrigerated until ready to fry.
How to Make It
1. Prepare the Chicken
Cut your chicken breasts into evenly sized strips, about ¾ inch thick and 4 inches long. This ensures uniform cooking. Place the chicken strips in a bowl with buttermilk, salt, and pepper. Let them marinate for at least 15 minutes – this buttermilk bath tenderizes the meat and helps the coating stick better.
2. Create the Seasoned Coating
In a large shallow dish, whisk together flour, garlic powder, onion powder, paprika, thyme, cayenne, salt, and black pepper. The key to flavorful chicken tenders is seasoning the flour generously – don’t be shy with the spices as some will fall off during cooking.
3. Heat the Oil
Pour oil into a heavy-bottomed pot or deep fryer to a depth of at least 3 inches. Heat to 350°F (175°C). Use a thermometer for accuracy – oil that’s too hot will burn the coating before cooking the chicken through, while oil that’s too cool will result in greasy, soggy tenders.
4. Double-Coat the Chicken
Remove each chicken strip from the buttermilk, allowing excess to drip off. Dredge in the seasoned flour, pressing gently to help it adhere. For extra crispiness, dip the floured chicken back into the buttermilk briefly, then coat with flour again. This double-coating creates those irresistible craggy edges that get extra crispy.
5. Fry to Golden Perfection
Carefully lower 4-5 chicken tenders into the hot oil, being careful not to overcrowd the pot. Fry for 3-4 minutes, then flip and cook for another 2-3 minutes until golden brown and the internal temperature reaches 165°F (74°C). The chicken should float to the surface when done.
6. Drain and Rest
Transfer the cooked tenders to a wire rack set over paper towels to drain excess oil. Let them rest for 3-5 minutes before serving – this brief resting period allows the juices to redistribute throughout the meat, ensuring maximum juiciness.
Nutritional Information
Each serving (approximately 4 tenders) contains roughly 380 calories, 28 grams of protein, 18 grams of carbohydrates, and 22 grams of fat. These homemade chicken tenders provide a excellent source of lean protein, which supports muscle development and repair. The buttermilk marinade adds calcium and probiotics, while the herbs and spices contribute antioxidants and anti-inflammatory compounds.
Compared to store-bought frozen versions, homemade tenders allow you to control sodium content and avoid preservatives. The protein content helps keep you satisfied longer, making these a more filling option than many processed snacks. Keep in mind that nutritional values may vary based on specific ingredients used and portion sizes.
Healthier Alternatives for the Recipe
Baked Version: For a lighter option, bake the coated tenders at 425°F (220°C) for 15-18 minutes, flipping halfway through. Spray with cooking oil before baking for better browning.
Air Fryer Method: Cook at 400°F (200°C) for 12-15 minutes, flipping once. This method uses significantly less oil while maintaining crispiness.
Whole Wheat Coating: Replace half the all-purpose flour with whole wheat flour for added fiber and nutrients.
Baked Panko Crust: Mix panko breadcrumbs with your seasonings and a light spray of oil for a different texture that’s equally satisfying.
Serving Suggestions
Serve your crispy chicken tenders immediately while they’re at their crunchiest peak. Classic accompaniments include honey mustard, ranch dressing, or barbecue sauce for dipping. For a complete meal, pair with crispy french fries and coleslaw, or opt for healthier sides like roasted vegetables and a fresh garden salad.
These tenders work beautifully in wraps with lettuce, tomatoes, and your favorite sauce. For game day entertaining, arrange them on a platter with multiple dipping sauces and vegetable sticks. Kids love them in lunchboxes with a small container of ketchup or ranch for dipping.
Common Mistakes to Avoid
Oil Temperature Errors: Not using a thermometer is the most common mistake. Too-hot oil burns the coating while leaving the interior undercooked, while too-cool oil creates greasy results.
Overcrowding the Pan: Adding too many tenders at once drops the oil temperature and leads to uneven cooking. Fry in small batches for best results.
Skipping the Rest Time: Cutting into tenders immediately after cooking releases all the juices, resulting in dry meat. Always let them rest for a few minutes.
Under-seasoning the Flour: The coating should be well-seasoned since this is where most of the flavor comes from. Taste your flour mixture and adjust seasonings as needed.
Storing Tips for the Recipe
Refrigerator Storage: Store leftover chicken tenders in an airtight container in the refrigerator for up to 3 days. Place parchment paper between layers to prevent sticking.
Reheating Instructions: For best results, reheat in a 375°F (190°C) oven for 8-10 minutes to restore crispiness. Avoid microwaving as this makes the coating soggy.
Freezing: Cooked tenders can be frozen for up to 2 months. Freeze them individually on a baking sheet first, then transfer to freezer bags. Reheat directly from frozen in the oven, adding 5-7 minutes to the reheating time.
Make-Ahead Tips: You can bread the raw tenders up to 4 hours ahead and refrigerate until ready to fry. This actually helps the coating adhere better.
Conclusion
These homemade crispy chicken tenders prove that restaurant-quality comfort food is absolutely achievable in your own kitchen. The combination of the buttermilk marinade, perfectly seasoned coating, and proper frying technique creates tenders that are crispy on the outside and incredibly juicy on the inside. The best part is knowing exactly what goes into your food – no mystery ingredients or excessive preservatives.
Whether you’re feeding hungry kids, hosting a casual gathering, or simply craving some nostalgic comfort food, these chicken tenders deliver every time. Don’t be afraid to make them your own by adjusting the spices to your family’s preferences. Once you master this technique, you’ll never want to buy frozen tenders again!
FAQs
Can I make these chicken tenders ahead of time?
Yes, you can bread the raw tenders up to 4 hours in advance and refrigerate them. You can also cook them completely and reheat in the oven to restore crispiness.
What’s the best oil for frying chicken tenders?
Vegetable oil, canola oil, or peanut oil work best due to their high smoke points and neutral flavors. Avoid olive oil as it has a lower smoke point and can become bitter when heated.
How do I know when the chicken tenders are fully cooked?
The internal temperature should reach 165°F (74°C) when measured with a meat thermometer. Visually, they should be golden brown and float to the surface of the oil.
Can I use chicken thighs instead of breasts?
Absolutely! Boneless, skinless chicken thighs work wonderfully and tend to be even juicier than breast meat. Cut them into similar-sized strips and follow the same process.
Why is my coating falling off during frying?
This usually happens when the chicken isn’t properly dried before coating or when the oil temperature is incorrect. Make sure to let excess buttermilk drip off and maintain oil temperature at 350°F.
Can I use regular milk instead of buttermilk?
While buttermilk is preferred for its tenderizing properties and tangy flavor, you can substitute regular milk mixed with 1 tablespoon of lemon juice or white vinegar per cup as an alternative.