Introduction
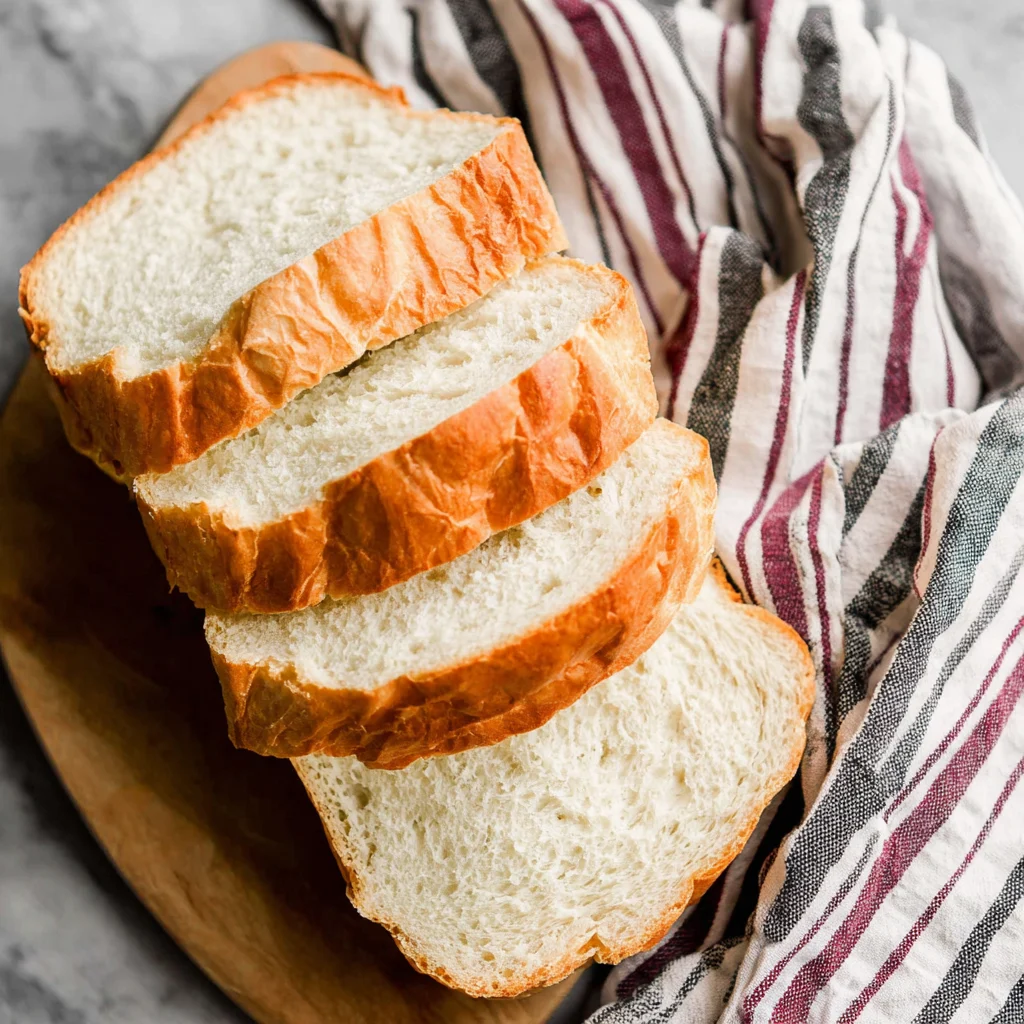
Growing up, Saturday mornings meant the sound of my grandmother’s stand mixer whirring in the kitchen, followed by the incomparable smell of bread rising and baking. That’s where my love for Simply Sandwich Bread began—not with complicated artisan techniques, but with the simple joy of creating something nourishing from scratch.
Homemade sandwich bread has been a cornerstone of family kitchens for generations, and for good reason. Unlike commercial varieties loaded with preservatives and artificial ingredients, this Simply Sandwich Bread recipe relies on time-tested ingredients that work together harmoniously. The result is a loaf with superior flavor, texture, and nutritional value that brings families together around the dinner table.
This particular recipe strikes the perfect balance between traditional bread-making techniques and modern convenience. The dough is forgiving enough for beginners yet produces professional-quality results that will make you question why you ever bought store-bought bread. Each slice reveals a tender, even crumb with just the right amount of structure to support your favorite sandwich combinations.
Ingredients List
Base Ingredients:
- 3 cups bread flour (plus extra for dusting)
- 1 packet (2¼ teaspoons) active dry yeast
- 1 tablespoon granulated sugar
- 1 teaspoon salt
- 1 cup warm water (110°F)
- 2 tablespoons unsalted butter, melted
- 1 large egg (for egg wash)
For Gluten-Free Option: Substitute bread flour with a 1:1 gluten-free flour blend designed for bread making, and add 1 teaspoon xanthan gum if not included in your blend.
For Dairy-Free Version: Replace melted butter with equal amounts of olive oil or melted coconut oil.
For Whole Wheat Variation: Substitute up to half the bread flour with whole wheat flour for added nutrition and nutty flavor.
Timing
Preparation Time: 20 minutes
Rising Time: 2 hours (total for both rises)
Baking Time: 30-35 minutes
Total Time: Approximately 3 hours
Time Management Tips: Start this Simply Sandwich Bread in the morning for fresh bread by afternoon. The rising times are flexible—if your kitchen is cool, the dough may need an extra 15-30 minutes. During the first rise, use that hour to prep other meals or tackle light kitchen tasks. The second rise is shorter, perfect for preparing sandwich fillings or cleaning up your workspace.
Make-Ahead Strategy: You can prepare the dough the night before and let it rise slowly in the refrigerator, then bring to room temperature and continue with the second rise the next day.
How to Make It
1. Activate the Yeast
Combine warm water and sugar in a large mixing bowl, stirring until dissolved. Sprinkle the yeast over the surface and let stand for 5-10 minutes until foamy and bubbly. This step ensures your yeast is active and will give your Simply Sandwich Bread proper rise and texture.
2. Mix the Dough
Add the melted butter to the yeast mixture, followed by salt and 2 cups of flour. Mix with a wooden spoon until a shaggy dough forms. Gradually add the remaining flour, stirring until the dough pulls away from the bowl sides but remains slightly sticky.
3. Knead to Perfection
Turn the dough onto a lightly floured surface and knead for 8-10 minutes until smooth and elastic. The dough should spring back when gently poked. If it feels too sticky, add flour one tablespoon at a time—but avoid adding too much, as this creates dense bread.
4. First Rise
Place the dough in a greased bowl, turning to coat all sides. Cover with a damp kitchen towel and let rise in a warm, draft-free place for 1 hour or until doubled in size. The top should look puffy and feel light when gently touched.
5. Shape the Loaf
Punch down the dough gently to release air bubbles. Turn onto a lightly floured surface and shape into a rectangle roughly the width of your 9×5-inch loaf pan. Roll tightly from one short end, pinching the seam closed. Place seam-side down in the greased pan.
6. Second Rise and Prepare for Baking
Cover the shaped loaf and let rise for 45-60 minutes until the dough crowns above the pan rim. Preheat your oven to 375°F during the last 15 minutes of rising. Beat the egg with 1 tablespoon water and brush gently over the loaf surface for a golden finish.
7. Bake to Golden Perfection
Bake for 30-35 minutes until the top is golden brown and the internal temperature reaches 190°F. The loaf should sound hollow when tapped on the bottom. Cool in the pan for 10 minutes, then turn out onto a wire rack to cool completely before slicing.
Nutritional Information
Each slice of Simply Sandwich Bread (based on 12 slices per loaf) contains approximately 140 calories, 3 grams of protein, 26 grams of carbohydrates, and 2 grams of fat. This homemade version provides essential B vitamins from the flour, particularly niacin and folate, which support energy metabolism and nervous system function.
Compared to many commercial breads, this Simply Sandwich Bread contains no artificial preservatives, high fructose corn syrup, or unnecessary additives. The controlled sodium content makes it heart-friendly, while the protein from flour and egg supports muscle maintenance and satiety.
For those monitoring their intake, each slice provides complex carbohydrates for sustained energy release, making it an excellent choice for breakfast toast or lunch sandwiches. The recipe’s simple ingredient list means you know exactly what you’re consuming, supporting mindful eating practices.
Healthier Alternatives for the Recipe
Reduced Calorie Version: Substitute half the bread flour with whole wheat pastry flour to increase fiber content and add nutritional density. This modification adds a subtle nutty flavor while maintaining the tender texture that makes Simply Sandwich Bread so appealing.
Lower Sodium Option: Reduce salt to ¾ teaspoon and enhance flavor with herbs like rosemary or thyme. The bread will still rise properly while accommodating sodium-restricted diets.
Protein-Enhanced Version: Add 2 tablespoons of vital wheat gluten to increase protein content and improve texture. This creates a more satisfying slice that keeps you fuller longer.
Heart-Healthy Modification: Replace butter with heart-healthy olive oil and add a tablespoon of ground flaxseed for omega-3 fatty acids. These changes support cardiovascular health without compromising the bread’s beloved texture.
Serving Suggestions
Simply Sandwich Bread shines in countless applications beyond basic sandwiches. Try thick slices for French toast that absorbs custard beautifully while maintaining structure, or toast lightly for a perfect base for avocado toast or nut butter spreads.
For elegant entertaining, use day-old slices to create sophisticated tea sandwiches with cucumber and cream cheese, or transform into bread pudding for dessert. The bread’s subtle sweetness pairs wonderfully with both sweet and savory toppings.
Consider serving warm slices alongside soup or salad for a comforting meal, or use for homemade breadcrumbs that add superior flavor to meatballs and casseroles. During holiday seasons, this Simply Sandwich Bread makes exceptional stuffing with its ability to absorb flavors while maintaining texture.
Common Mistakes to Avoid
Over-flouring: Adding too much flour during kneading creates dense, heavy bread. The dough should remain slightly tacky—trust the process and resist adding excessive flour.
Incorrect Water Temperature: Water that’s too hot kills yeast, while cold water won’t activate it properly. Aim for 110°F—it should feel comfortably warm on your wrist, like a baby’s bath.
Skipping the Rise Times: Rushing the rising process results in dense Simply Sandwich Bread with poor texture. Allow adequate time for proper fermentation, which develops flavor and creates the desired light crumb.
Slicing Too Soon: Cutting into hot bread creates gummy texture and uneven slices. Allow complete cooling for clean slices and optimal texture—patience truly pays off here.
Storing Tips for the Recipe
Store your Simply Sandwich Bread in an airtight container or plastic bag at room temperature for up to 4 days. The homemade nature means it lacks commercial preservatives, so proper storage is essential for maintaining freshness and preventing mold.
For longer storage, slice the cooled loaf and freeze in freezer bags for up to 3 months. Individual slices can be toasted directly from frozen, making weekday breakfasts effortless. Double-wrap whole loaves in plastic wrap and aluminum foil before freezing to prevent freezer burn.
Refresh day-old bread by wrapping in damp paper towels and microwaving for 10-15 seconds, or toast lightly to restore texture. This Simply Sandwich Bread also makes excellent breadcrumbs when it begins to stale—just pulse in a food processor and store in the freezer.
Conclusion
Simply Sandwich Bread represents the beautiful intersection of simplicity and satisfaction. This recipe proves that extraordinary results don’t require complicated techniques or exotic ingredients—just quality components, proper technique, and a little patience.
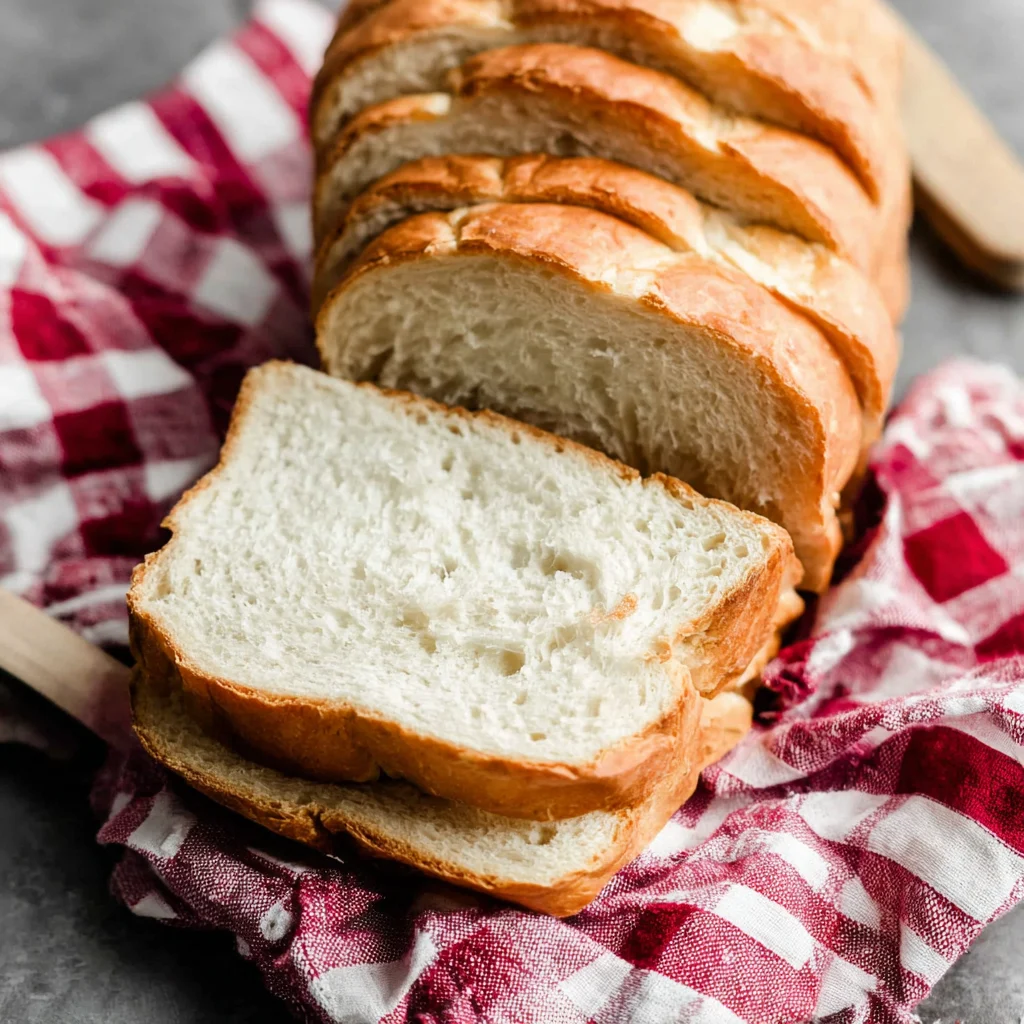
The joy of slicing into your first homemade loaf, hearing that perfect soft crumb compress gently under the knife, makes every minute of preparation worthwhile. This bread transforms ordinary meals into memorable experiences and fills your home with the incomparable aroma of fresh-baked comfort.
I encourage you to try this Simply Sandwich Bread recipe and discover the satisfaction of creating something truly nourishing from scratch. Share your results, experiment with the variations, and don’t forget to save a slice for that first, warm-from-the-oven taste that makes all the effort worthwhile.
FAQs
Can I make Simply Sandwich Bread without a stand mixer?
Absolutely! This recipe is designed for hand mixing and kneading. The process takes slightly more effort but produces identical results. The key is thorough kneading to develop gluten structure properly.
Why didn’t my bread rise properly?
Common causes include expired yeast, water temperature issues, or cold environment. Always check yeast expiration dates, test water temperature with a thermometer, and find a warm (75-80°F) spot for rising.
Can I substitute all-purpose flour for bread flour?
Yes, though the texture will be slightly less chewy. Bread flour’s higher protein content creates better structure, but all-purpose flour works in a pinch. Add 1 teaspoon vital wheat gluten per cup of all-purpose flour for improved results.
How do I know when the bread is fully baked?
The internal temperature should reach 190°F, the top should be golden brown, and the bottom should sound hollow when tapped. If the top browns too quickly, tent with aluminum foil during the final 10 minutes.
Can I double this recipe?
Certainly! Double all ingredients proportionally and divide between two loaf pans. Rising times remain the same, but you may need to rotate pans halfway through baking for even browning.
What’s the best way to slice homemade bread?
Use a sharp serrated knife and gentle sawing motion. Clean cuts require completely cooled bread—warm bread will compress and create uneven slices regardless of knife sharpness.