Introduction
There’s something magical about the aroma of freshly baked bread filling your home, and this No-Knead Honey Oat Bread delivers that experience without the intimidation factor of traditional bread-making. I discovered this foolproof method during a particularly busy week when I was craving homemade bread but couldn’t spare the time for kneading and multiple rises.
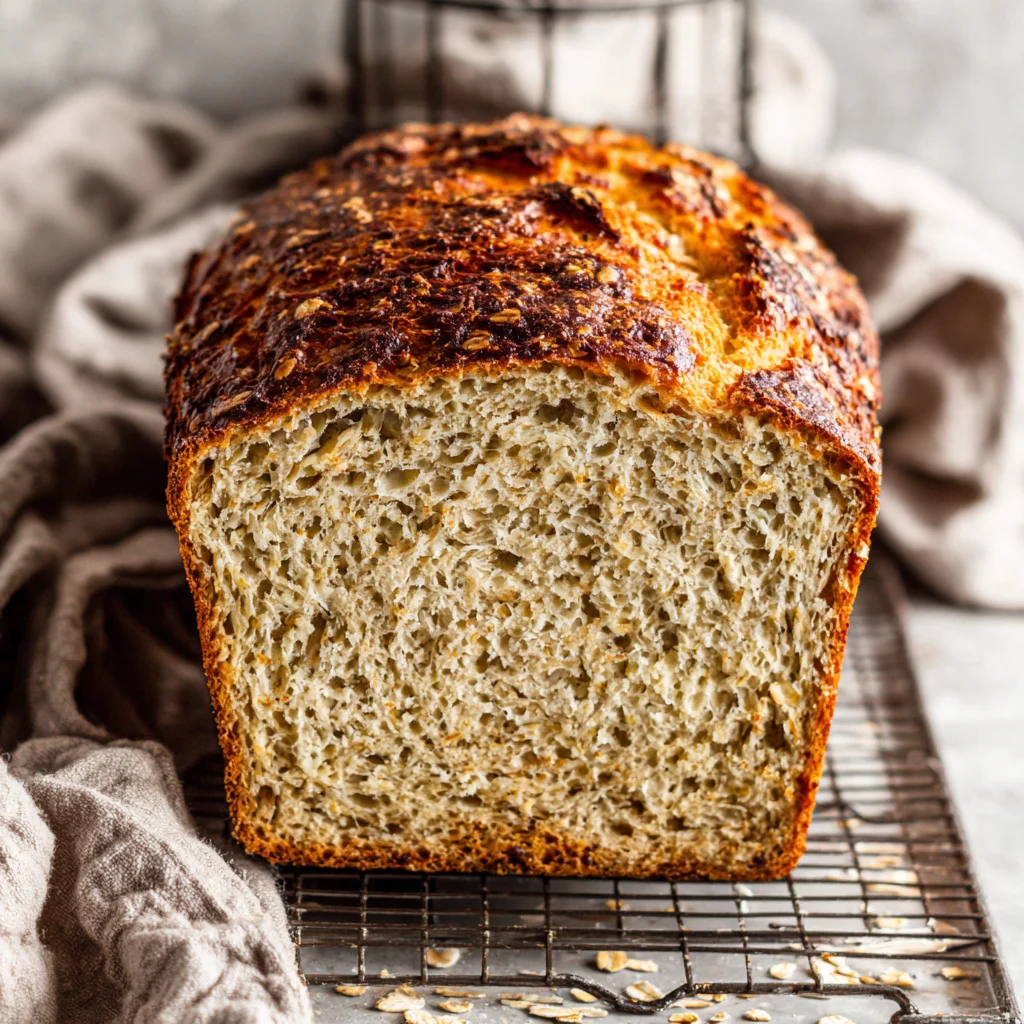
This rustic, hearty loaf combines the natural sweetness of honey with the nutty texture of oats, creating a bread that’s perfect for everything from morning toast to dinner table centerpieces. The beauty of no-knead bread lies in its simplicity – time and gentle fermentation do all the work for you. Unlike conventional bread-making that requires precise timing and physical effort, this method lets you mix the ingredients, walk away, and return to a perfectly developed dough ready for baking. The result is a golden, crusty exterior that gives way to a tender, flavorful crumb with delightful oat texture throughout.
Ingredients List
Base Ingredients:
- 3 cups all-purpose flour
- 1/4 teaspoon active dry yeast
- 1 1/4 teaspoons salt
- 1/2 cup rolled oats (old-fashioned)
- 1/4 cup honey
- 1 5/8 cups warm water
- 2 tablespoons olive oil
For Topping:
- 2 tablespoons rolled oats
- 1 tablespoon honey (for brushing)
Substitution Options:
- Gluten-free: Replace all-purpose flour with a 1:1 gluten-free flour blend and add 1 teaspoon xanthan gum
- Vegan alternative: Substitute honey with maple syrup or agave nectar
- Whole grain boost: Replace up to 1 cup of all-purpose flour with whole wheat flour
- Different oats: Quick oats work but will create a softer texture; steel-cut oats add more crunch
Timing
Total Time: 18-24 hours (mostly hands-off time)
Active Preparation: 10 minutes
First Rise: 12-18 hours
Second Rise: 2 hours
Baking Time: 30-35 minutes
Time Management Tips:
Mix the dough the evening before you want fresh bread for breakfast or lunch. The long, slow fermentation actually works in your favor – you can let it rise anywhere from 12 to 24 hours depending on your schedule. Start the second rise about 3 hours before you want to serve the bread, giving yourself buffer time for baking and cooling.
Make-Ahead Strategy:
This bread is perfect for weekend meal prep. You can even refrigerate the initial dough for up to 5 days, using portions as needed for fresh daily bread.
How to Make It
1. Create the Dough Base
In a large mixing bowl, whisk together flour, yeast, and salt until evenly distributed. Add the rolled oats and stir to combine. In a separate bowl, whisk the honey into the warm water until completely dissolved – this ensures even sweetness throughout the bread. Pour the honey water and olive oil into the flour mixture.
Using a wooden spoon or your hands, mix everything together until you have a shaggy, sticky dough. Don’t worry about it looking rough – this is exactly what you want. The dough should be wetter than traditional bread dough, almost like a thick batter.
2. Begin the Long Rise
Cover the bowl tightly with plastic wrap or a damp kitchen towel. Let it sit at room temperature for 12-18 hours. During this time, the dough will bubble, rise, and develop complex flavors. The surface should look bubbly and the dough should have doubled in size with a pleasant, slightly tangy aroma.
3. Shape the Loaf
Turn the risen dough out onto a heavily floured surface – it will be quite sticky, so don’t be shy with the flour. With floured hands, gently fold the dough over itself a few times to create surface tension. Shape it into a rough round loaf. The dough will be soft and somewhat loose, which is normal for no-knead bread.
4. Second Rise Setup
Place the shaped dough seam-side down on a piece of parchment paper. Cover with a kitchen towel and let rise for 2 hours until puffy and increased in size by about half.
5. Preheat and Prepare
About 30 minutes before baking, place a Dutch oven or heavy pot with a lid in your oven and preheat to 450°F (230°C). This creates a steam environment that gives you that beautiful crusty exterior.
6. Score and Bake
Carefully remove the hot Dutch oven. Brush the top of your loaf with honey and sprinkle with the reserved oats. Using a sharp knife or razor blade, make a few shallow slashes across the top – this allows the bread to expand properly during baking.
Using the parchment paper as a sling, carefully lower the dough into the hot pot. Cover and bake for 20 minutes, then remove the lid and continue baking for 10-15 minutes until the crust is golden brown and the internal temperature reaches 200°F (93°C).
Nutritional Information
This hearty No-Knead Honey Oat Bread provides approximately 180 calories per slice (assuming 12 slices per loaf). Each serving contains roughly 4 grams of protein, 35 grams of carbohydrates, and 3 grams of fat.
The oats contribute beneficial fiber and beta-glucan, which supports heart health and helps maintain steady blood sugar levels. Honey provides natural sweetness along with trace minerals and antioxidants. The long fermentation process makes the bread easier to digest and may increase the availability of certain nutrients.
This bread offers complex carbohydrates for sustained energy, making it an excellent choice for active individuals or growing families. The combination of oats and wheat provides a more complete amino acid profile than wheat alone.
Nutritional values are approximate and may vary based on specific ingredients used and portion sizes.
Healthier Alternatives for the Recipe
Reduced Calorie Version:
Replace half the all-purpose flour with almond flour or reduce the honey to 2 tablespoons, adding a pinch of cinnamon for extra flavor depth.
Gluten-Free Adaptation:
Use a high-quality gluten-free flour blend with xanthan gum. The texture will be slightly denser but equally delicious. Allow extra rising time as gluten-free doughs typically need longer fermentation.
Enhanced Nutrition:
Substitute up to one-third of the flour with whole wheat flour and add 2 tablespoons of ground flaxseed or chia seeds. This increases fiber, omega-3 fatty acids, and protein content while maintaining great taste.
Vegan-Friendly:
Simply replace honey with pure maple syrup or brown rice syrup. The flavor will be slightly different but equally appealing, with maple adding lovely caramel notes.
Lower Sodium:
Reduce salt to 3/4 teaspoon and enhance flavor with herbs like rosemary or thyme. The bread will still rise properly with less sodium.
Serving Suggestions
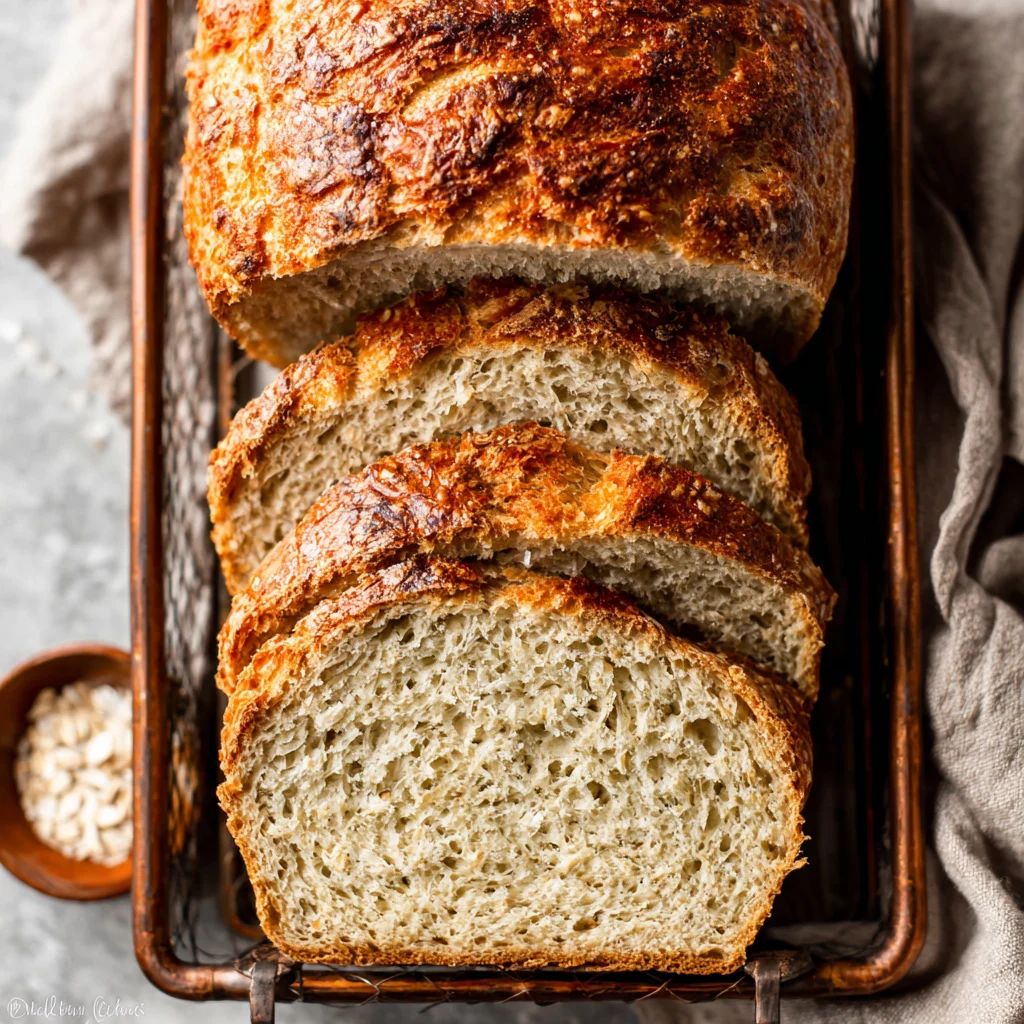
This versatile bread shines in countless ways. Slice it thick for morning toast topped with butter and jam, or create gourmet sandwiches with roasted vegetables and cheese. The subtle sweetness pairs beautifully with both savory and sweet toppings.
For elegant entertaining, serve thin slices alongside a cheese board or use as a base for bruschetta. The bread’s sturdy texture holds up well to hearty soups and stews, making it perfect for dunking.
Try it toasted with avocado and sea salt for breakfast, or make French toast for weekend brunches – the honey and oats add incredible depth to the custard base. For dinner, it complements roasted meats and vegetables perfectly.
Portion Guidance: One loaf typically yields 10-12 generous slices, perfect for a family of four over several meals.
Common Mistakes to Avoid
Over-flouring the initial mix: The dough should be quite wet and sticky. Adding too much flour during mixing creates dense, heavy bread.
Rushing the first rise: This is where flavor develops. Don’t shortcut the 12-18 hour fermentation – it’s what makes this recipe special.
Skipping the preheat: Starting with a cold Dutch oven won’t give you that dramatic oven spring and crusty exterior that makes artisan bread special.
Opening the oven door: Resist the urge to peek during the first 20 minutes. Losing steam prevents proper crust formation.
Cutting too soon: Let the bread cool for at least 30 minutes before slicing. The interior continues cooking from residual heat, and cutting too early results in gummy texture.
Storing Tips for the Recipe
Room Temperature: Store completely cooled bread in a paper bag or bread box for 2-3 days. Avoid plastic, which softens the crust.
Refrigerator Storage: Wrap tightly in plastic wrap for up to one week. The texture will be slightly different, but toasting revives much of the original character.
Freezer Storage: Slice the bread before freezing for convenience. Wrap individual slices or the whole loaf in plastic wrap, then aluminum foil. Freeze for up to 3 months.
Reheating: Refresh day-old bread by misting lightly with water and warming in a 350°F oven for 5-10 minutes. Frozen slices can go directly into the toaster.
Make-Ahead Tip: The shaped, unbaked loaf can be refrigerated overnight before baking. This actually improves flavor and makes morning baking more manageable.
Conclusion
This No-Knead Honey Oat Bread proves that exceptional homemade bread doesn’t require professional skills or endless kneading. The combination of honey’s natural sweetness, oats’ hearty texture, and the long fermentation’s complex flavors creates something truly special for your table.
The beauty of this method lies in its forgiving nature – perfect for busy schedules and novice bakers alike. Once you experience the satisfaction of pulling a golden, crusty loaf from your own oven, store-bought bread will never quite compare.
I encourage you to make this bread your own by experimenting with different add-ins like seeds, nuts, or dried fruits. Each variation teaches you something new about the craft of bread-making while building your confidence in the kitchen.
Don’t forget to share your baking adventures and any creative variations you discover. For more inspiration, check out additional baking ideas on my recipe boards where fellow home bakers share their successes and creative twists.
FAQs
Can I use instant yeast instead of active dry yeast?
Yes, you can substitute instant yeast using the same amount. Instant yeast doesn’t need to be dissolved in water first and may slightly reduce the rising time.
What if my dough doesn’t seem to rise much after 12 hours?
Cold kitchens slow fermentation. Try moving the bowl to a warmer spot (75-80°F is ideal) or extending the rise time up to 24 hours. Look for bubbling and a yeasty aroma rather than dramatic size increase.
Can I make this bread without a Dutch oven?
While a Dutch oven creates the best crust, you can bake on a pizza stone or heavy baking sheet. Place a pan of boiling water on the oven’s bottom rack to create steam for the first 20 minutes.
How do I know when the bread is fully baked?
The crust should be golden brown and sound hollow when tapped on the bottom. An instant-read thermometer should register 200-205°F when inserted into the center.
Can I add other ingredients like nuts or seeds?
Absolutely! Add up to 1/2 cup of chopped nuts, seeds, or dried fruits during the initial mixing. Fold them in gently to avoid overworking the dough.
Why is my bread dense instead of airy?
Dense bread usually results from too much flour, insufficient rising time, or expired yeast. Ensure your yeast is fresh and active, and don’t add extra flour beyond what’s needed for handling the sticky dough.