Introduction
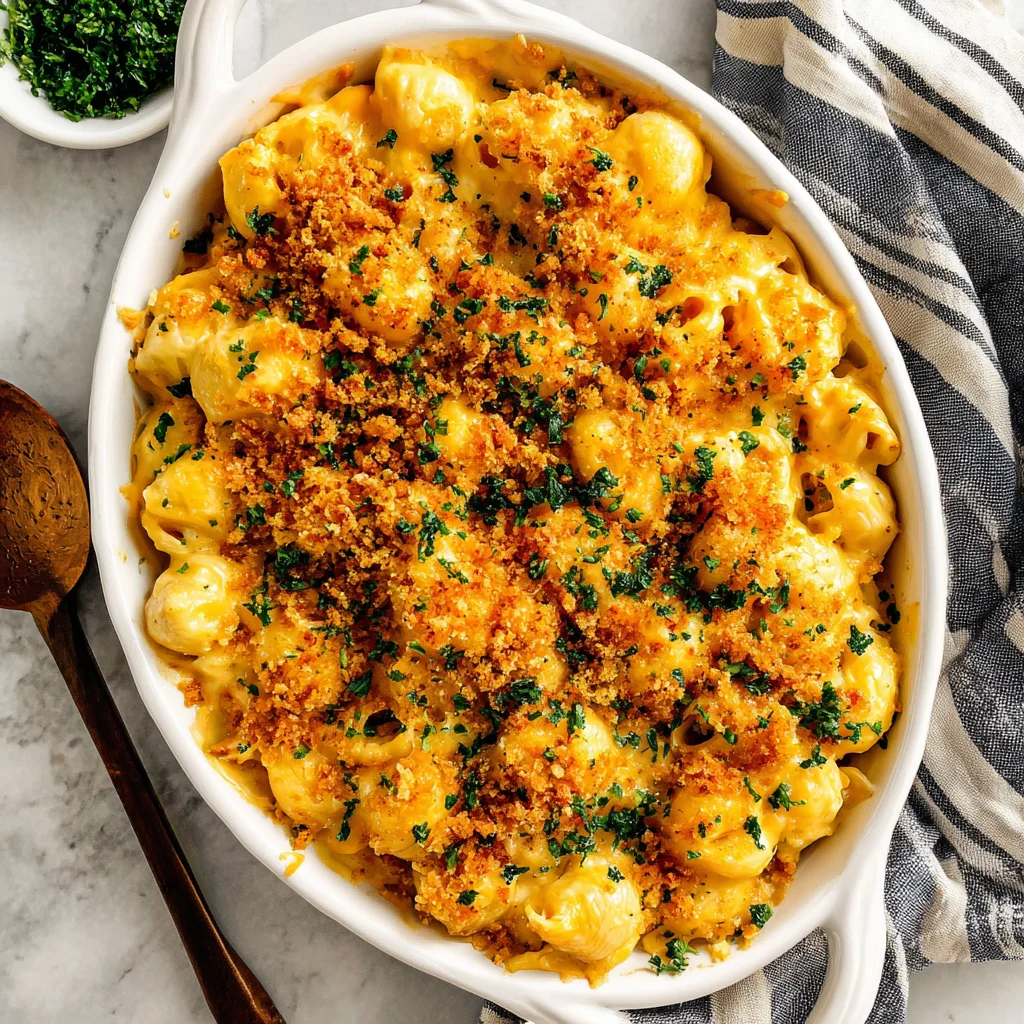
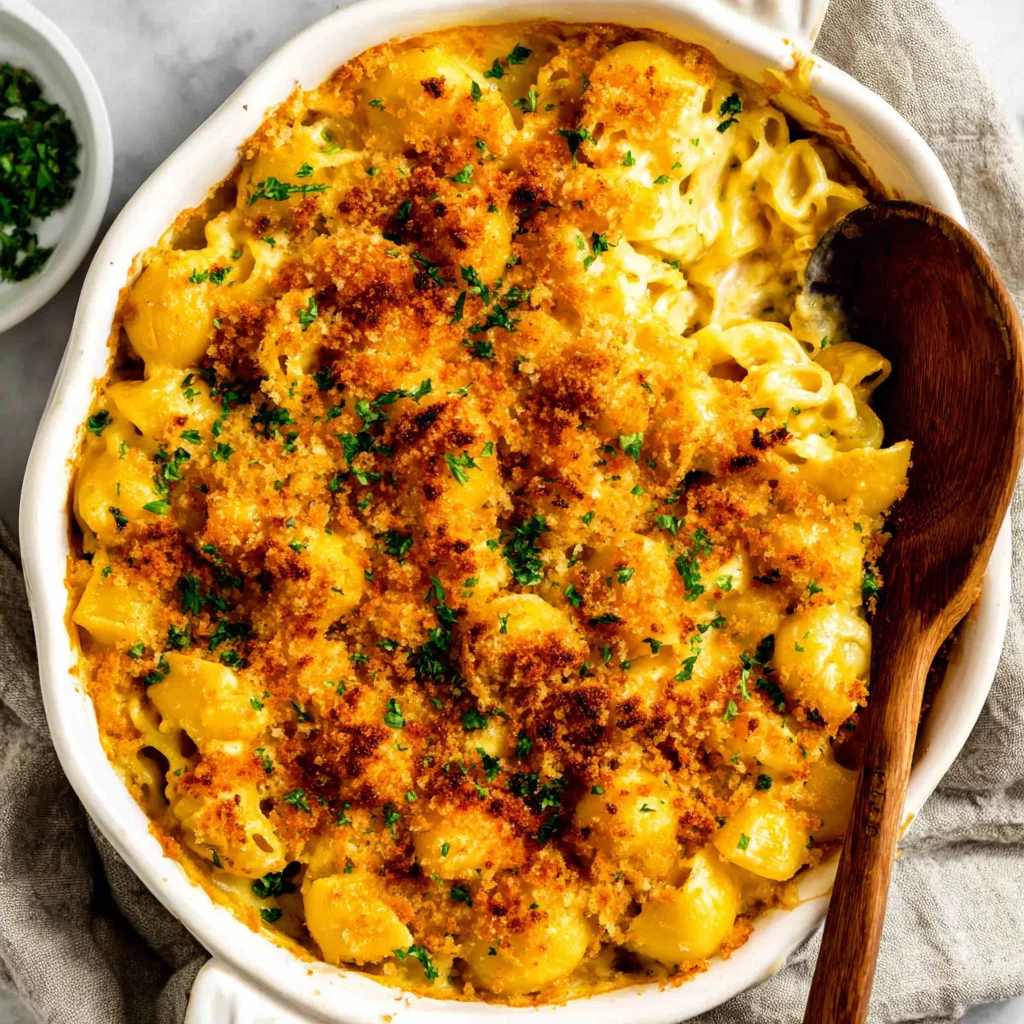
Nothing compares to the soul-warming comfort of homemade baked mac and cheese straight from the oven. As someone who grew up watching my grandmother layer creamy cheese sauce between tender pasta, I know this dish represents pure comfort food magic. This baked mac and cheese recipe creates the perfect balance of creamy interior and golden, crispy top that makes every bite absolutely irresistible. What sets this version apart is the three-cheese blend and foolproof technique that guarantees restaurant-quality results in your own kitchen.
Ingredients List
For the Pasta:
- 1 pound elbow macaroni
- 1 tablespoon salt (for pasta water)
For the Cheese Sauce:
- 4 tablespoons butter
- 4 tablespoons all-purpose flour
- 3 cups whole milk
- 2 cups sharp cheddar cheese, shredded
- 1 cup Gruyère cheese, shredded
- ½ cup cream cheese, softened
- 1 teaspoon garlic powder
- ½ teaspoon paprika
- Salt and pepper to taste
For the Topping:
- 1 cup panko breadcrumbs
- ½ cup Parmesan cheese, grated
- 3 tablespoons butter, melted
Smart Substitutions: Swap Gruyère for sharp white cheddar if unavailable, use Greek yogurt instead of cream cheese for tanginess, or substitute gluten-free flour for a gluten-free version.
Timing
Prep Time: 20 minutes
Cook Time: 35 minutes
Total Time: 55 minutes
Time-Saving Tip: Make the cheese sauce up to two days ahead and refrigerate. Simply reheat gently before assembling your casserole for quicker weeknight preparation.
How to Make It
1. Prepare the Pasta Base
Cook the elbow macaroni in generously salted boiling water until just shy of al dente—about 1 minute less than package directions suggest. You’ll hear vigorous bubbling and smell that distinctive pasta aroma. The slightly firm texture is crucial because the pasta continues cooking in the oven, preventing mushy results. Drain thoroughly and set aside, letting excess steam escape.
2. Create the Cheese Sauce Foundation
Melt butter in a heavy-bottomed saucepan over medium heat until it begins to foam and smell nutty. Whisk in flour continuously for 2 minutes, creating a golden roux that eliminates any raw flour taste. This step builds the sauce’s silky foundation, so don’t rush it. Gradually add milk while whisking constantly to prevent lumps. The mixture will initially look separated but transforms into smooth, creamy perfection as it heats.
3. Build the Creamy Cheese Blend
Remove the sauce from heat once it coats the back of a spoon—this takes about 5 minutes of gentle simmering. Add the softened cream cheese first, whisking until completely melted and incorporated. Then fold in the shredded cheddar and Gruyère gradually, stirring until each addition melts completely. The sauce should be gloriously smooth and coat the spoon heavily. Season with garlic powder, paprika, salt, and pepper, tasting as you go.
4. Assemble the Casserole
Preheat your oven to 375°F and butter a 9×13-inch baking dish. Combine the cooked pasta with the cheese sauce in a large bowl, ensuring every piece gets coated. The mixture should look incredibly creamy and rich. Transfer to your prepared dish, spreading evenly. This even distribution ensures consistent cooking and prevents dry spots.
5. Create the Perfect Golden Topping
Mix panko breadcrumbs, grated Parmesan, and melted butter in a bowl until the crumbs glisten and clump slightly. Sprinkle this mixture evenly over the mac and cheese, creating texture contrast. The buttered breadcrumbs will transform into a gorgeous golden crust that adds delightful crunch to each creamy bite.
6. Bake to Golden Perfection
Bake uncovered for 25-30 minutes until the edges bubble vigorously and the top turns deep golden brown. You’ll smell the irresistible aroma of toasted cheese and breadcrumbs. Let it rest for 10 minutes before serving—this cooling period allows the sauce to set properly while remaining creamy inside.
Nutritional Information
Per serving (serves 8): Approximately 520 calories, 18g protein, 45g carbohydrates, 28g fat. This comfort food favorite provides calcium from multiple cheese sources and energy-sustaining carbohydrates. Values are approximate and may vary based on specific ingredients used.
Serving Suggestions
This rich macaroni and cheese pairs beautifully with crisp green salad, roasted Brussels sprouts, or honey-glazed carrots to balance the richness. Serve in generous portions—about 1 cup per person—alongside crusty bread for the ultimate comfort meal experience.
Common Mistakes to Avoid
Overcooking the pasta initially leads to mushy results after baking. Using pre-shredded cheese can create grainy sauce due to anti-caking agents—freshly grated melts much smoother. Skipping the roux cooking time leaves an unpleasant raw flour taste. Baking at too high temperature causes the top to burn before the center heats through properly.
Storing Tips
Store leftover baked mac and cheese covered in the refrigerator for up to 4 days. Reheat individual portions in the microwave or cover the entire dish with foil and warm in a 325°F oven until heated through, about 20 minutes.
Conclusion
This baked mac and cheese delivers everything you crave—creamy, cheesy comfort with that irresistible golden top. Each forkful brings pure satisfaction that makes any day better. Give this recipe a try and let me know how it turns out!
FAQs
Can I make this ahead of time?
Absolutely! Assemble the casserole without the breadcrumb topping, cover, and refrigerate up to 24 hours. Add topping and bake, adding 10 extra minutes for chilled dish.
What’s the best cheese combination?
Sharp cheddar provides tangy flavor, Gruyère adds nutty depth, and cream cheese ensures ultra-creaminess. This trio creates the perfect flavor profile and smooth texture.
Why is my cheese sauce grainy?
Usually from overheating or using pre-shredded cheese. Remove sauce from heat before adding cheese and use freshly grated varieties for silky results.
Can I freeze baked mac and cheese?
Yes, wrap tightly and freeze up to 3 months. Thaw overnight in refrigerator, then reheat covered at 350°F until warmed through.
How do I prevent dry mac and cheese?
Don’t overbake, ensure your sauce is creamy before assembling, and let it rest after baking. The resting period allows moisture to redistribute evenly.
Find more delicious recipe inspiration on our Pinterest page!