Introduction
Nothing beats the smell of fresh waffles cooking on a lazy weekend morning, especially when they’re rich, decadent chocolate waffles. This homemade breakfast treat transforms your regular waffle routine into something truly special. These fluffy, cocoa-infused delights strike the perfect balance between indulgent dessert and satisfying breakfast, making them ideal for special occasions or when you simply want to treat yourself to something extraordinary.
Ingredients List
- 1¾ cups all-purpose flour
- ¼ cup unsweetened cocoa powder
- 2 tablespoons granulated sugar
- 1 tablespoon baking powder
- ½ teaspoon salt
- 2 large eggs
- 1¾ cups whole milk
- ⅓ cup melted butter
- 1 teaspoon vanilla extract
- ½ cup mini chocolate chips (optional)
Substitution suggestions: Replace whole milk with buttermilk for tangier flavor, swap melted butter with vegetable oil for lighter texture, or use gluten-free flour blend for dietary restrictions.
Timing
Prep time: 10 minutes
Cook time: 15 minutes
Total time: 25 minutes
Time management tip: Mix your dry ingredients the night before and store in an airtight container. This cuts morning prep time in half and ensures perfectly fluffy chocolate waffles every time.
How to Make It
1. Prepare Your Dry Ingredients
Whisk together flour, cocoa powder, sugar, baking powder, and salt in a large mixing bowl. Make sure to sift the cocoa powder if it’s lumpy – this prevents bitter pockets and ensures smooth, evenly colored waffles. The mixture should look like rich, chocolatey flour with no visible streaks.
2. Combine Wet Ingredients
In a separate bowl, whisk eggs until slightly frothy, then add milk, melted butter, and vanilla extract. The key here is ensuring your melted butter isn’t too hot, or it’ll scramble the eggs. Room temperature ingredients blend more easily and create a smoother batter.
3. Create the Batter
Pour the wet ingredients into the dry mixture and gently fold together using a rubber spatula. Stop mixing as soon as you no longer see dry flour – lumps are perfectly fine and actually desirable. Overmixing develops gluten, resulting in tough, chewy waffles instead of tender ones. If using chocolate chips, fold them in gently at this stage.
4. Heat and Grease Your Waffle Iron
Preheat your waffle iron according to manufacturer instructions – you’ll hear it stop hissing when it reaches proper temperature. Lightly brush with melted butter or spray with cooking oil. Even non-stick waffle irons benefit from a light coating to ensure easy release and beautiful golden edges.
5. Cook the Chocolate Waffles
Pour batter onto the center of your waffle iron, using about ¾ cup for standard-sized irons. Close the lid and resist the urge to peek – opening too early creates soggy centers. Most waffle irons have indicator lights, but listen for the steam to slow down significantly. The waffles are ready when they’re deep golden brown and release easily from the iron, typically 4-5 minutes.
6. Serve Immediately
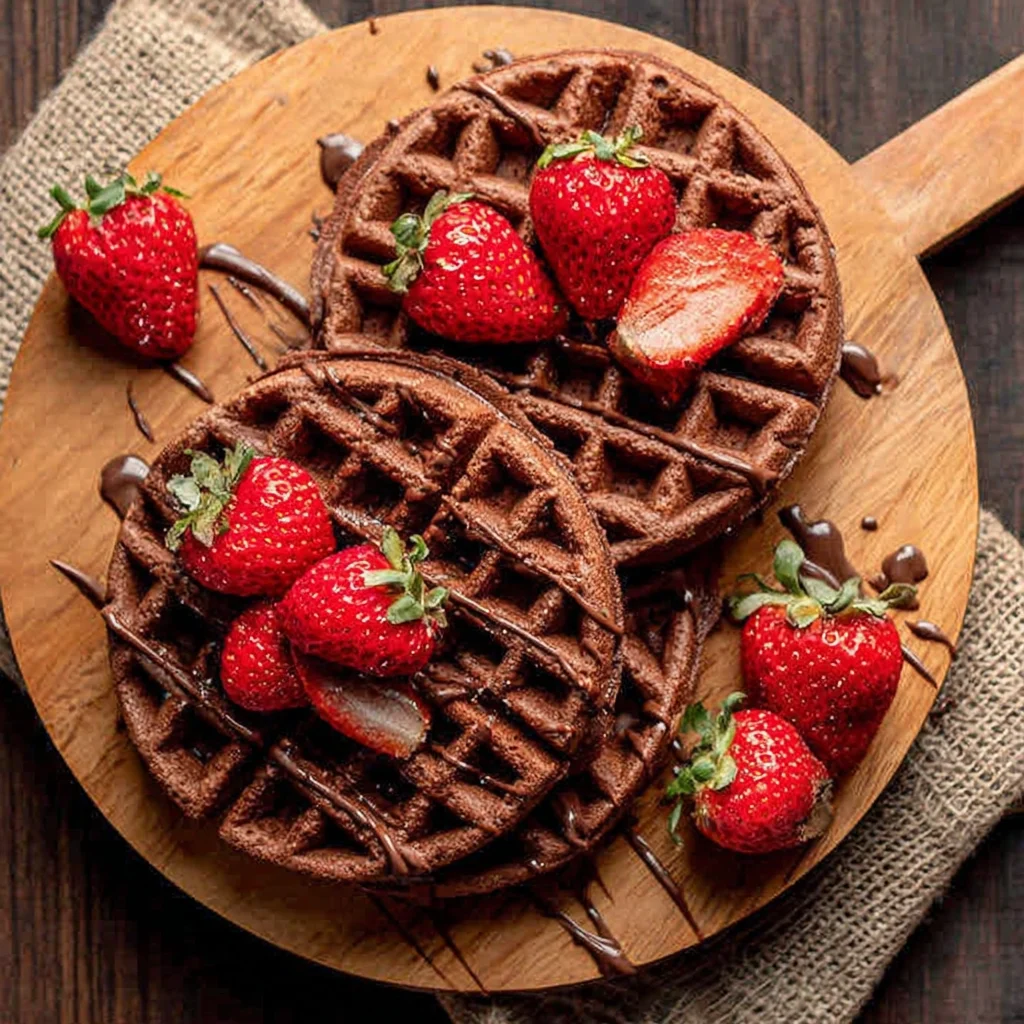
Transfer hot waffles directly to plates or keep warm in a 200°F oven on a wire rack. This prevents them from getting soggy while maintaining their crispy exterior. The contrast between the crispy outside and fluffy, chocolatey interior is what makes these waffles truly spectacular.
Nutritional Information
Each waffle contains approximately 285 calories, 8g protein, 42g carbohydrates, and 10g fat. These chocolate waffles provide calcium from milk and some iron from cocoa powder, though they’re best enjoyed as an occasional treat rather than daily breakfast.
Serving Suggestions
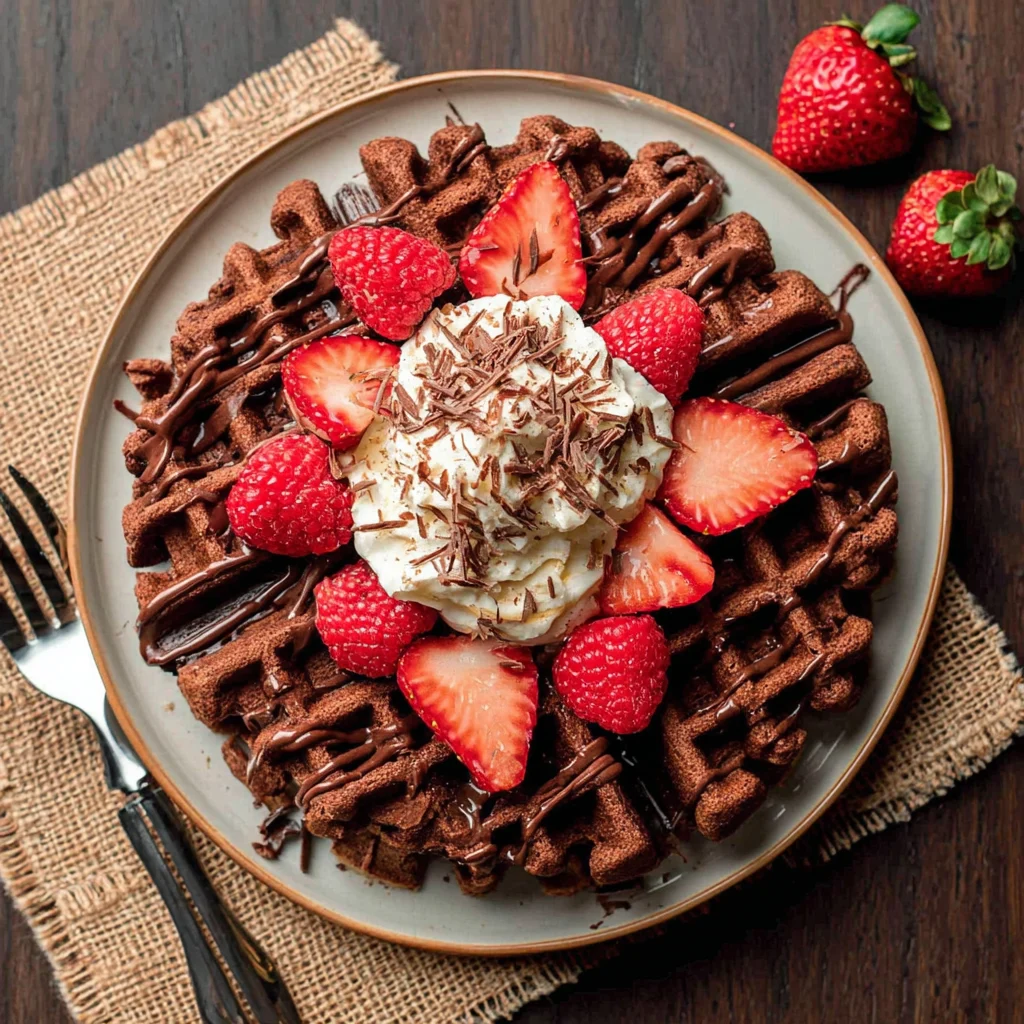
Top your chocolate waffles with fresh berries and whipped cream for elegant presentation, or drizzle with maple syrup and add sliced bananas for classic comfort. A light dusting of powdered sugar makes them photo-worthy for special brunches.
Common Mistakes to Avoid
Overmixing the batter creates dense, tough waffles – stop stirring once ingredients are just combined. Using cold ingredients prevents proper mixing and creates lumpy batter. Opening the waffle iron too early results in torn, undercooked centers. Skipping the preheat leads to unevenly cooked waffles that stick to the iron.
Storing Tips
Store leftover chocolate waffles in the refrigerator for up to three days in an airtight container. Freeze for up to three months individually wrapped. Reheat in a toaster or 350°F oven for 3-4 minutes to restore crispiness – avoid microwaving as it makes them soggy.
Conclusion
These homemade chocolate waffles prove that weekend mornings deserve something special. The rich cocoa flavor combined with fluffy texture creates breakfast magic that brings families together. Give this recipe a try and watch faces light up around your breakfast table.
FAQs
Can I make the batter ahead of time?
Fresh batter works best, but you can refrigerate it for up to 2 hours. Stir gently before using and add a splash of milk if it thickens.
Why are my chocolate waffles not crispy?
Ensure your waffle iron is fully preheated and avoid opening it too early. Steam needs to escape completely for crispy exteriors.
Can I use regular chocolate chips instead of mini ones?
Regular chips work fine, but mini chips distribute more evenly and are less likely to make the waffles stick to the iron.
What if I don’t have a waffle iron?
This batter makes excellent chocolate pancakes! Cook on medium heat for 2-3 minutes per side until bubbles form and pop.
How do I prevent waffles from sticking?
Always grease your iron lightly between batches, even with non-stick surfaces. Check out more helpful tips on our recipe boards for additional waffle-making secrets.