Introduction
There’s something truly magical about the aroma of freshly baked easy cinnamon rolls wafting through your kitchen on a weekend morning. I still remember the first time I attempted homemade cinnamon rolls – I was convinced they’d be too complicated for my beginner baking skills. But after one successful batch, I realized that creating these pillowy, sweet spirals at home isn’t nearly as intimidating as it seems.
What makes this easy cinnamon rolls recipe perfect for beginners is its forgiving nature and straightforward approach. Unlike traditional recipes that require overnight rising or complex techniques, this version delivers bakery-quality results with simple ingredients and clear steps. The secret lies in using a quick-rise method that cuts down on waiting time while still producing those signature soft, fluffy layers we all crave.
Whether you’re looking to impress weekend guests or simply treat yourself to something special, these easy cinnamon rolls will become your go-to comfort baking recipe.
Ingredients List
For the Dough:
- 3 cups all-purpose flour (plus extra for dusting)
- 2 tablespoons granulated sugar
- 2¼ teaspoons instant yeast (1 packet)
- 1 teaspoon salt
- ¾ cup warm milk (around 110°F)
- 3 tablespoons unsalted butter, melted
- 1 large egg, room temperature
For the Cinnamon Filling:
- 4 tablespoons unsalted butter, softened
- ⅔ cup packed brown sugar
- 2 tablespoons ground cinnamon
- Pinch of salt
For the Simple Glaze:
- 1½ cups powdered sugar
- 3-4 tablespoons milk
- 1 teaspoon vanilla extract
Substitution Options:
- Gluten-free: Replace all-purpose flour with a 1:1 gluten-free baking flour blend
- Dairy-free: Use plant-based milk and vegan butter alternatives
- Lower sugar: Reduce brown sugar to ½ cup and use sugar-free powdered sweetener for glaze
- Whole wheat: Substitute up to half the all-purpose flour with whole wheat flour for added fiber
Timing
Total Time: 2 hours 30 minutes
- Prep Time: 20 minutes
- First Rise: 1 hour
- Assembly & Rolling: 15 minutes
- Second Rise: 45 minutes
- Baking Time: 25-30 minutes
Time-Saving Tips:
- Prepare the filling while the dough rises for the first time
- Use your oven’s “proof” setting (or simply turn it on for 1 minute, then turn off) to create a warm environment for faster rising
- Make the glaze while rolls are baking – the timing works perfectly
- For weekend mornings, prepare rolls the night before up to the second rise, then refrigerate overnight and bake fresh in the morning
How to Make It
1. Prepare the Dough Base
In a large mixing bowl, whisk together flour, sugar, instant yeast, and salt. Create a well in the center and pour in the warm milk, melted butter, and egg. Using a wooden spoon or stand mixer with dough hook, mix until a soft dough forms. The mixture will look shaggy at first – this is completely normal.
Pro Tip: Your milk should feel comfortably warm to the touch, like a pleasant bath temperature. Too hot will kill the yeast, too cool will slow the rising process.
2. Knead to Perfection
Turn the dough onto a lightly floured surface and knead for 8-10 minutes by hand, or 5-6 minutes in a stand mixer. You’ll know it’s ready when the dough becomes smooth, elastic, and slightly tacky but not sticky. It should spring back when poked gently.
3. First Rise Magic
Place the dough in a greased bowl, turning once to coat all sides. Cover with a damp kitchen towel and let rise in a warm, draft-free place for about 1 hour, or until doubled in size. While waiting, prepare your cinnamon filling by mixing softened butter, brown sugar, cinnamon, and salt until well combined.
4. Roll and Fill
Punch down the risen dough and transfer to a lightly floured surface. Roll into a 12×18 inch rectangle, keeping edges as even as possible. Spread the cinnamon filling evenly over the surface, leaving a ½-inch border along one long edge (this helps with sealing).
Chef’s Secret: Use an offset spatula or the back of a spoon to spread filling evenly – this prevents tearing the delicate dough.
5. Create the Spirals
Starting from the long side opposite your clean border, tightly roll the dough into a log. Pinch the seam to seal. Using a sharp knife or unflavored dental floss, cut into 12 equal pieces. Place cut-side up in a greased 9×13 inch baking pan, leaving small gaps between each roll.
6. Second Rise and Bake
Cover the pan and let rolls rise for 45 minutes until puffy and touching each other. Meanwhile, preheat your oven to 375°F. Bake for 25-30 minutes until golden brown on top and cooked through in the center.
7. Glaze to Glory
While rolls bake, whisk together powdered sugar, milk, and vanilla for the glaze. Adjust consistency with additional milk if needed. Drizzle over warm (not hot) rolls for the perfect finishing touch.
Nutritional Information
Per serving (1 roll, makes 12):
- Calories: Approximately 285
- Carbohydrates: 52g
- Protein: 5g
- Fat: 7g
- Fiber: 2g
- Sugar: 24g
These easy cinnamon rolls provide quick energy from carbohydrates and contain some protein from the egg and milk. The cinnamon offers natural antioxidants and may help with blood sugar regulation. While these are definitely a treat, they can be part of a balanced diet when enjoyed in moderation.
Nutritional Benefits:
- Cinnamon provides anti-inflammatory compounds
- Milk and eggs contribute protein and calcium
- Enriched flour offers B vitamins and iron
Note: Nutritional values are estimates and may vary based on specific ingredients used and portion sizes.
Healthier Alternatives for the Recipe
Reduce Sugar Impact:
Replace half the brown sugar with unsweetened applesauce or mashed banana for natural sweetness and added moisture. This creates slightly denser but still delicious rolls.
Boost Fiber Content:
Substitute 1 cup of all-purpose flour with whole wheat pastry flour. This adds nutty flavor and increases fiber while maintaining tenderness.
Lighter Fat Options:
Use Greek yogurt in place of half the butter in the dough for protein boost and reduced saturated fat. The texture remains wonderfully soft.
Gluten-Free Success:
When using gluten-free flour, add 1 teaspoon xanthan gum (if not included in your flour blend) and let the dough rest 30 minutes before kneading to hydrate properly.
Dairy-Free Adaptations:
Coconut milk works beautifully in place of regular milk, adding subtle tropical notes. Vegan butter substitutes perform nearly identically to dairy butter in this recipe.
Serving Suggestions
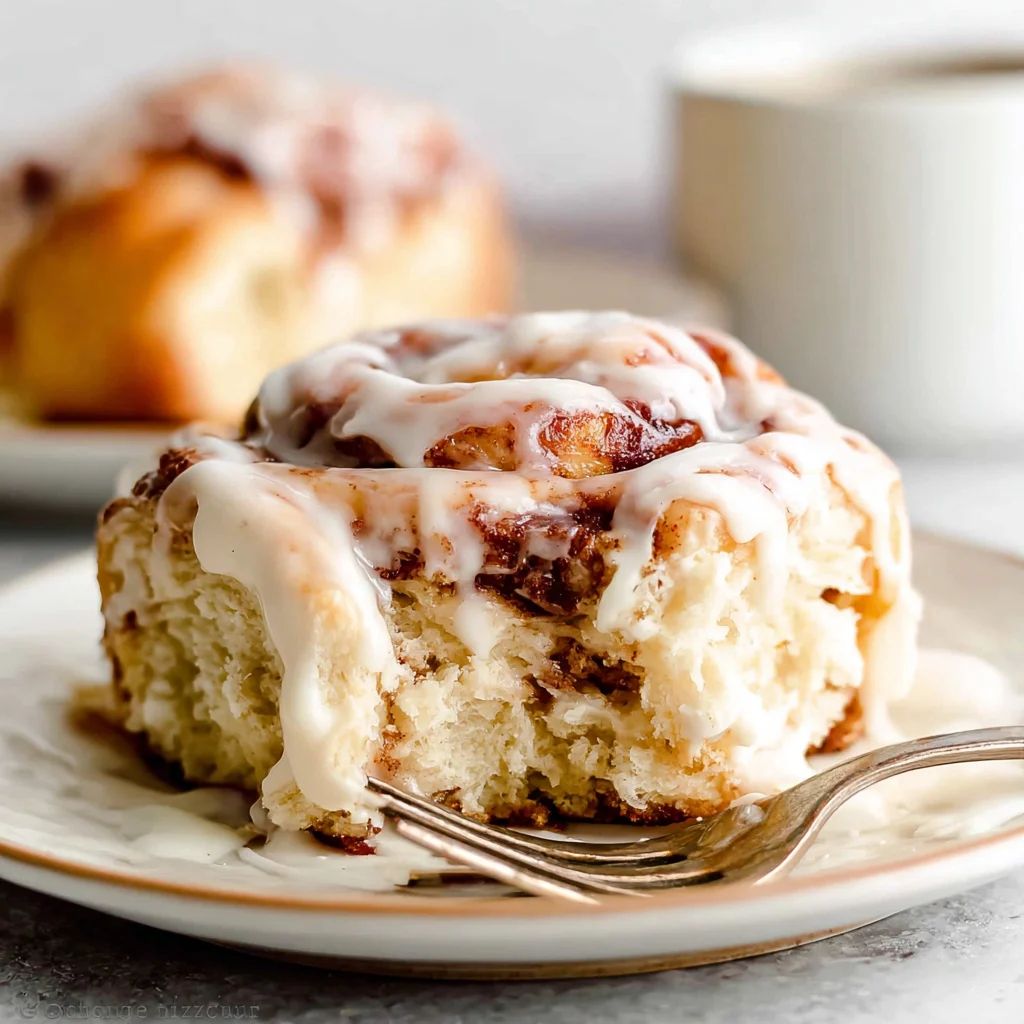
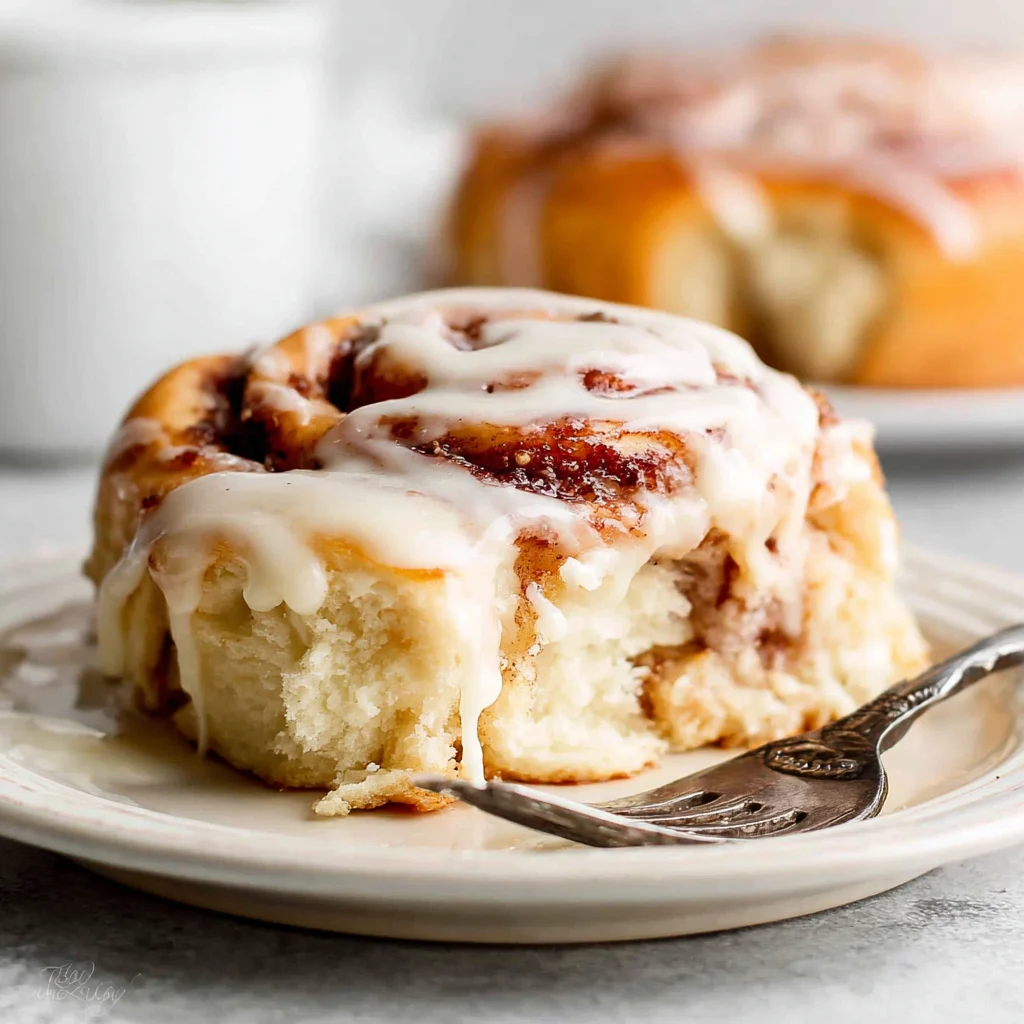
Classic Presentation:
Serve warm cinnamon rolls on individual plates with extra glaze on the side. Pair with hot coffee or fresh orange juice for a perfect weekend breakfast.
Special Occasion Styling:
Dust with powdered sugar and garnish with fresh berries for brunch gatherings. Consider serving on a large wooden board family-style for casual entertaining.
Portion Guidance:
One roll makes a satisfying individual serving, though smaller appetites might prefer half a roll with fresh fruit. For heartier breakfast needs, pair with scrambled eggs or Greek yogurt.
Seasonal Variations:
- Fall: Add chopped pecans and a dash of nutmeg to the filling
- Winter: Incorporate orange zest into the glaze for brightness
- Spring: Top with cream cheese frosting and fresh strawberries
- Summer: Serve alongside fresh berries and whipped cream
Common Mistakes to Avoid
Temperature Troubles:
Using milk that’s too hot kills yeast, while too-cold milk slows rising dramatically. Test with your wrist – it should feel pleasantly warm, never hot.
Over-Flouring the Surface:
Excessive flour during rolling creates dry spots in your finished rolls. Use just enough to prevent sticking, brushing off excess before rolling.
Cutting Complications:
Sawing with a knife crushes the delicate spirals. Instead, use unflavored dental floss or a very sharp knife with gentle, confident cuts.
Rising Impatience:
Rushing the rising process results in dense, tough rolls. Proper rising times ensure light, fluffy texture. If your kitchen is cool, create warmth near (not in) a barely warm oven.
Overbaking Issues:
Rolls continue cooking from residual heat after removal. They should be golden brown on top but still soft to touch. Overbaked rolls become dry and lose their tender appeal.
Storing Tips for the Recipe
Short-Term Storage:
Keep leftover cinnamon rolls covered at room temperature for up to 3 days. Store in the original pan covered with plastic wrap, or transfer to an airtight container.
Refrigerator Storage:
For longer freshness, refrigerate covered rolls for up to 1 week. The texture remains good, though they’re best when warmed before serving.
Freezer Storage:
Wrap individual rolls in plastic wrap, then place in freezer bags for up to 3 months. Alternatively, freeze the entire batch in the original pan, well-wrapped.
Reheating Instructions:
- Microwave: 20-30 seconds per roll
- Oven: 350°F for 5-8 minutes, covered with foil
- From Frozen: Thaw overnight, then warm using above methods
Make-Ahead Strategy:
Prepare rolls through the second rise, then cover and refrigerate overnight. In the morning, let them come to room temperature for 30 minutes before baking as directed.
Conclusion
Creating homemade easy cinnamon rolls transforms any ordinary morning into something special. This beginner-friendly recipe proves that bakery-quality results don’t require professional skills or complicated techniques – just good ingredients, clear steps, and a little patience for the rising process.
The beauty of this recipe lies in its adaptability and forgiving nature. Whether you follow it exactly or incorporate your favorite modifications, you’ll discover the joy of pulling a pan of golden, fragrant cinnamon rolls from your own oven.
Don’t wait for a special occasion to try these easy cinnamon rolls. Your kitchen will smell incredible, your family will be impressed, and you’ll gain confidence in your baking abilities. Once you experience the satisfaction of homemade cinnamon rolls, store-bought versions will never compare.
FAQs
Can I make the dough the night before?
Yes! Prepare the dough through the first rise, then punch down and refrigerate overnight. In the morning, let it come to room temperature before rolling and filling. This actually develops more complex flavors.
What if my rolls don’t rise properly?
Check your yeast expiration date and milk temperature. If the dough hasn’t doubled after 90 minutes, move it to a warmer location. You can also place the bowl on top of your refrigerator or near a warm (not hot) stove.
Can I freeze unbaked cinnamon rolls?
Absolutely! Assemble the rolls in the pan, cover tightly, and freeze for up to 2 months. When ready to bake, thaw overnight in the refrigerator, let rise until puffy (about 1 hour), then bake as directed.
How do I know when they’re done baking?
The tops should be golden brown, and the internal temperature should reach 190°F when tested with a digital thermometer. They should spring back lightly when touched in the center.
What’s the best way to cut the rolls without squashing them?
Use unflavored dental floss or a very sharp serrated knife. For dental floss, slide it under the log, cross the ends over the top, and pull quickly. This creates clean cuts without compressing the dough.
Can I use active dry yeast instead of instant yeast?
Yes, but dissolve it in the warm milk for 5-10 minutes until foamy before adding to the flour mixture. This adds about 10 minutes to your prep time but works perfectly.