Don't add the preamble at the beginning.
Introduction
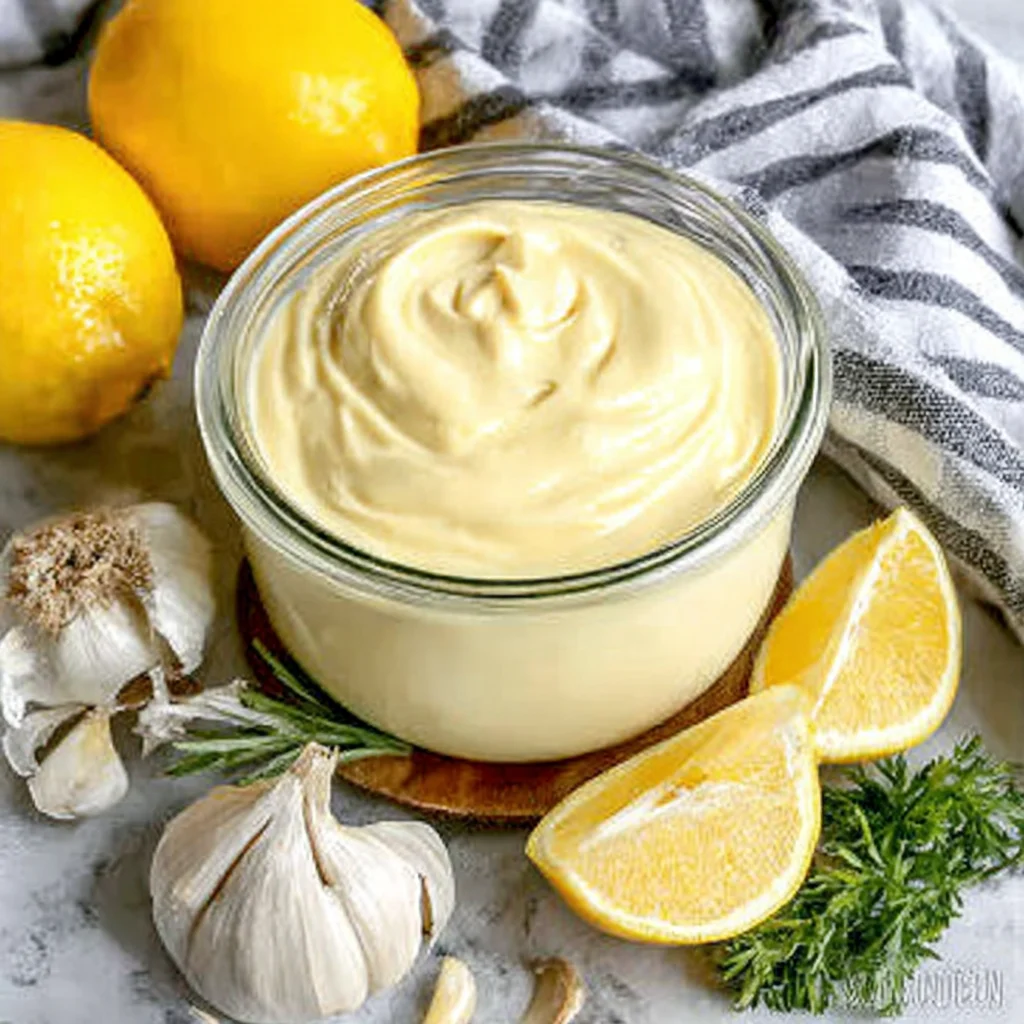
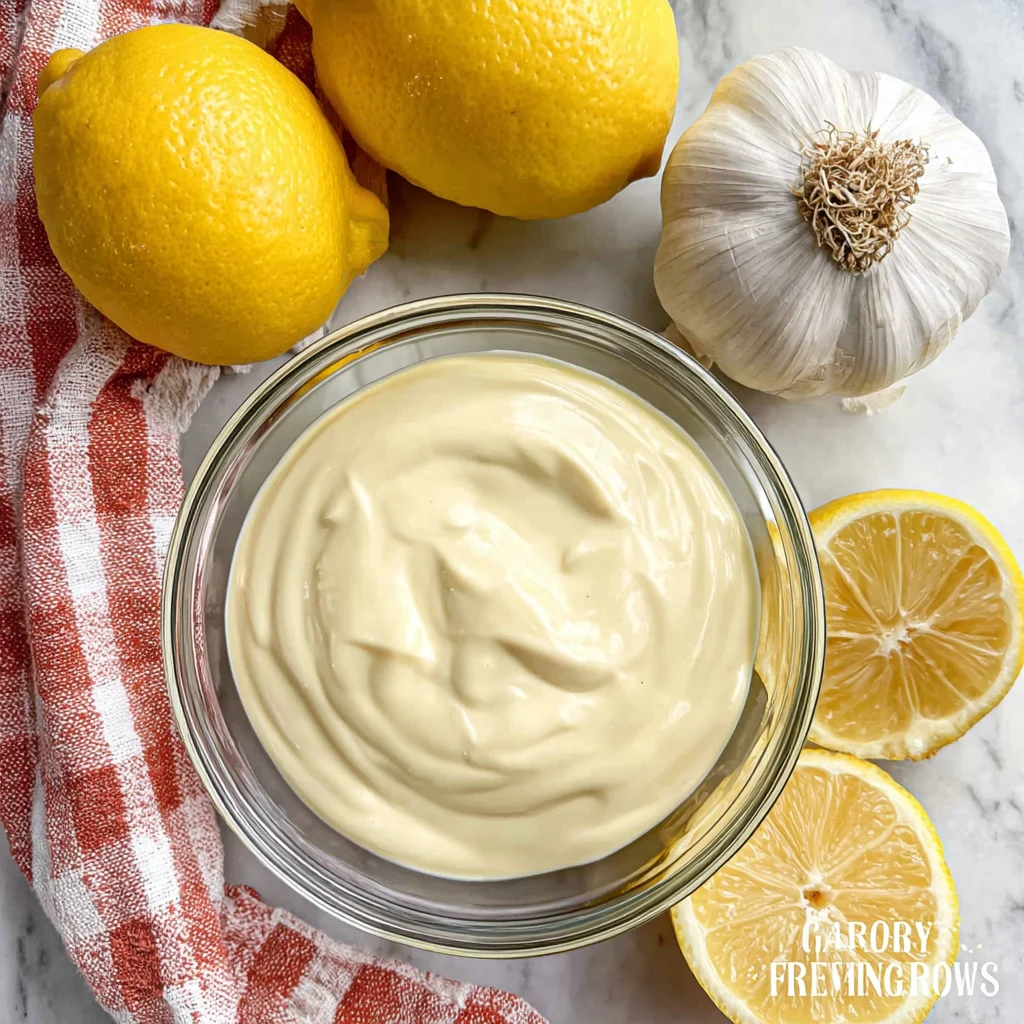
Growing up in my grandmother's kitchen, I watched her transform simple ingredients into magic. While she mastered complex dishes, one of her simplest creations remained my favorite – her creamy, garlicky aioli that elevated everything from grilled vegetables to crusty bread. This garlic aioli recipe captures that same Mediterranean essence that made every meal feel special. Unlike store-bought versions loaded with preservatives, homemade aioli brings together just a few quality ingredients to create something truly extraordinary. The beauty lies in its simplicity – egg yolks, olive oil, garlic, and lemon unite to form a luxurious sauce that's both versatile and irresistible. This traditional garlic aioli recipe transforms ordinary meals into restaurant-quality experiences, whether you're hosting dinner parties or simply want to elevate your weeknight cooking.
Ingredients List
Creating the perfect garlic aioli starts with selecting quality ingredients that work harmoniously together. Each component plays a crucial role in achieving that signature creamy texture and bold flavor profile.
Base Ingredients:
- 2 large egg yolks (room temperature works best)
- 3-4 fresh garlic cloves, minced finely
- 3/4 cup extra virgin olive oil (mild variety preferred)
- 2 tablespoons fresh lemon juice
- 1/2 teaspoon sea salt
- 1/4 teaspoon white pepper (black pepper works too)
Optional Flavor Enhancers:
- 1 teaspoon Dijon mustard (adds stability and tang)
- 1 tablespoon fresh herbs like chives or parsley, finely chopped
Substitution Options:
For those with dietary restrictions, pasteurized egg yolks work perfectly, while vegan versions can substitute aquafaba (chickpea liquid) for egg yolks. Light olive oil or avocado oil creates a milder flavor profile, and lime juice can replace lemon for a citrusy twist.
Timing
This garlic aioli recipe requires minimal time commitment, making it perfect for both planned meals and spontaneous cooking moments.
Time Breakdown:
- Preparation time: 10 minutes
- Whisking/emulsifying time: 5-8 minutes
- Total active time: 15-18 minutes
- Resting time: 30 minutes (optional, for flavors to meld)
Make-Ahead Strategy:
Aioli actually improves after resting, allowing the garlic to mellow and flavors to harmonize. Prepare it up to three days ahead and store it covered in the refrigerator. The consistency may thicken slightly when chilled – simply whisk in a teaspoon of warm water to restore the creamy texture.
Time-Saving Tips:
While making aioli, prepare your accompanying dishes. The brief whisking time allows you to multitask efficiently, whether grilling vegetables or setting the table.
How to Make It
1. Prepare Your Foundation
Start by bringing egg yolks to room temperature – this prevents the mixture from breaking and ensures smooth emulsification. Mince garlic finely using a sharp knife or microplane, then sprinkle with a pinch of salt and mash into a paste using the flat side of your knife. This technique releases maximum flavor while preventing harsh garlic bite.
2. Create the Base Mixture
In a medium mixing bowl, whisk together egg yolks, garlic paste, lemon juice, salt, and pepper until well combined. The mixture should appear pale yellow and slightly thickened. Adding Dijon mustard at this stage helps stabilize the emulsion and provides subtle complexity.
3. Begin the Emulsification Process
While whisking continuously, begin adding olive oil drop by drop. This step requires patience but ensures success. After incorporating about one-quarter of the oil, the mixture will start to thicken and lighten in color. This indicates proper emulsification has begun.
4. Stream in Remaining Oil
Once the emulsion is established, gradually increase the oil flow to a thin, steady stream while maintaining constant whisking. The aioli will become thick and creamy, similar to mayonnaise consistency. If the mixture becomes too thick, whisk in a teaspoon of warm water.
5. Adjust and Perfect
Taste your aioli and adjust seasoning as needed. Add more lemon juice for brightness, salt for depth, or garlic for intensity. The final product should coat the back of a spoon and hold its shape when dolloped.
Nutritional Information
This homemade garlic aioli provides approximately 95 calories per tablespoon, primarily from heart-healthy olive oil and protein-rich egg yolks. The olive oil contributes beneficial monounsaturated fats, while garlic offers natural antioxidants and immune-supporting compounds.
Per Serving (1 tablespoon):
- Calories: 95
- Fat: 10g (primarily monounsaturated)
- Protein: 1g
- Carbohydrates: 0.5g
- Sodium: 75mg
The fresh garlic provides allicin, a compound known for its anti-inflammatory properties, while lemon juice adds vitamin C. Unlike commercial versions, homemade aioli contains no artificial preservatives or excess sodium, allowing you to control every ingredient.
Healthier Alternatives for the Recipe
Transform this classic recipe to meet various dietary needs without sacrificing flavor or satisfaction.
Lower Calorie Version:
Replace half the olive oil with Greek yogurt for a lighter texture and tangy flavor. This modification reduces calories by approximately 40% while adding protein and probiotics.
Vegan Adaptation:
Substitute egg yolks with 3 tablespoons of aquafaba (chickpea liquid) whisked until foamy. The emulsification process remains identical, creating an equally creamy result that's completely plant-based.
Heart-Healthy Option:
Use avocado oil instead of olive oil for higher smoke point and neutral flavor, perfect for those monitoring saturated fat intake. Add roasted garlic instead of raw for a mellower, sweeter profile.
Reduced Sodium Alternative:
Eliminate added salt and enhance flavor with fresh herbs, lemon zest, or a splash of white wine vinegar. These additions provide complexity without increasing sodium content.
Serving Suggestions
Garlic aioli's versatility makes it a valuable addition to countless dishes, transforming simple ingredients into gourmet experiences.
Classic Pairings:
Serve alongside grilled vegetables, roasted potatoes, or fresh seafood. The creamy richness complements charred flavors beautifully, while the garlic adds aromatic depth.
Creative Applications:
Use as a sandwich spread for elevated lunch options, or thin slightly with lemon juice for a salad dressing alternative. Dollop over grain bowls or use as a dipping sauce for artisanal bread.
Portion Guidance:
A tablespoon per person typically suffices for dipping sauces, while sandwiches require about half that amount. The rich flavor means a little goes a long way in providing satisfying taste.
Common Mistakes to Avoid
Understanding potential pitfalls helps ensure aioli success every time you prepare this recipe.
Temperature Issues:
Cold egg yolks often cause emulsion failure. Always bring eggs to room temperature, or place them in warm water for five minutes before starting. Cold ingredients resist proper blending.
Oil Addition Speed:
Adding oil too quickly breaks the emulsion, creating a separated, oily mixture. Start drop by drop, then progress to a thin stream only after the mixture thickens noticeably.
Over-Whisking:
Excessive whisking after emulsification can break the mixture. Once desired consistency is achieved, stop whisking and adjust seasonings gently with a spoon.
Storage Mistakes:
Never leave aioli at room temperature for extended periods. The raw egg content requires refrigeration within two hours of preparation for food safety.
Storing Tips for the Recipe
Proper storage ensures your homemade aioli remains fresh and safe while maintaining optimal texture and flavor.
Refrigerator Storage:
Store aioli in an airtight container for up to five days in the refrigerator. Place plastic wrap directly on the surface to prevent skin formation, then cover with the container lid.
Texture Maintenance:
Chilled aioli naturally thickens. Before serving, let it sit at room temperature for 10 minutes, then whisk gently or add a teaspoon of warm water to restore creamy consistency.
Make-Ahead Strategy:
Aioli flavors improve over time, making it ideal for advance preparation. Prepare up to three days ahead for dinner parties, allowing flavors to meld and develop complexity.
Freezing Considerations:
Avoid freezing aioli, as the emulsion breaks during thawing, creating an unappetizing separated texture that cannot be restored through whisking.
Conclusion
This garlic aioli recipe brings authentic Mediterranean flavors to your kitchen with minimal effort and maximum impact. The simple technique of creating a stable emulsion transforms basic pantry ingredients into a luxurious condiment that rivals any restaurant preparation. Whether you're new to sauce-making or an experienced cook, this foolproof method ensures consistent results every time.
The beauty of homemade aioli lies in its customization potential – adjust garlic intensity, experiment with different oils, or incorporate fresh herbs to match your personal preferences. Each batch becomes uniquely yours while maintaining the classic essence that makes aioli so beloved.
I encourage you to try this recipe and discover how homemade aioli elevates your cooking. Share your variations and favorite serving suggestions – the aioli community loves discovering new ways to enjoy this timeless sauce!
FAQs
What should I do if my aioli breaks or separates?
Start fresh with a new egg yolk in a clean bowl. Slowly whisk the broken aioli into the new yolk, treating it like oil. This rescue method works about 90% of the time and salvages your ingredients.
Can I make aioli without raw eggs?
Absolutely! Use pasteurized eggs for safety, or try the vegan version with aquafaba. Both alternatives create delicious results while accommodating dietary restrictions or safety concerns.
How can I reduce the garlic intensity?
Blanch minced garlic in boiling water for 30 seconds before adding, or roast whole cloves until soft and sweet. These methods mellow the sharpness while maintaining garlic flavor.
Why does my aioli taste too oily?
This usually indicates the emulsion broke during preparation. The rescue method mentioned above fixes this issue. For future batches, add oil more slowly and ensure ingredients are at room temperature.
Can I use different oils besides olive oil?
Yes! Avocado oil creates neutral flavor, while a blend of olive and vegetable oils provides balance. Avoid strongly flavored oils like sesame or walnut unless specifically desired.
How long does homemade aioli last?
Properly stored aioli keeps for five days refrigerated. Always use clean utensils when serving to prevent contamination, and trust your senses – fresh aioli should smell pleasant and look creamy white.