Introduction
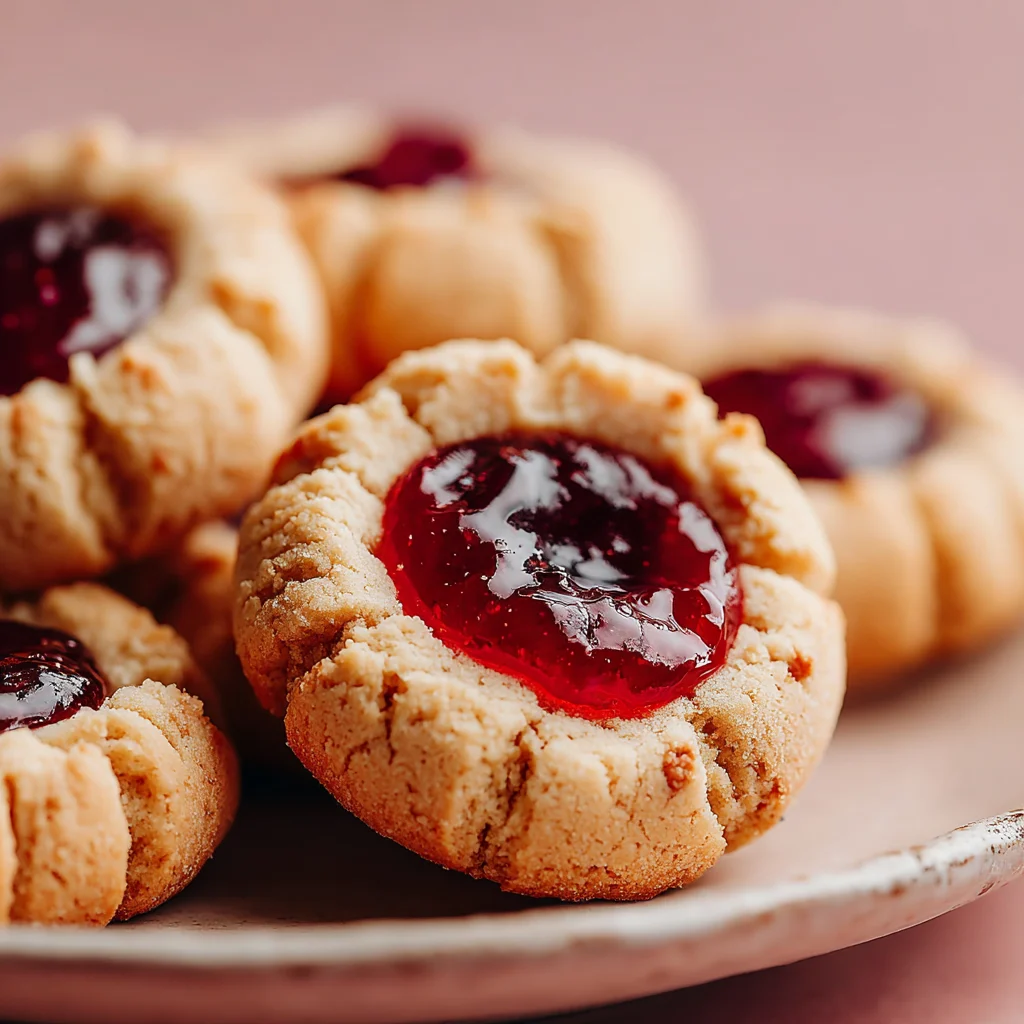
Nothing beats the joy of biting into a buttery, tender cookie with a sweet, jammy center – especially when those gluten-free thumbprint cookies are just as delicious as their traditional counterparts. These delightful treats have been gracing holiday cookie platters and afternoon tea tables for generations, and my gluten-free version ensures everyone can enjoy them. The combination of almond flour and a touch of vanilla creates incredibly rich, melt-in-your-mouth cookies that cradle your favorite jam or preserves perfectly.
Ingredients List
For the Cookie Dough:
- 2 cups almond flour
- ½ cup coconut flour
- ½ cup unsalted butter, softened
- ⅓ cup coconut sugar (or brown sugar)
- 1 large egg
- 1 teaspoon vanilla extract
- ½ teaspoon salt
- ¼ teaspoon baking soda
For Assembly:
- ¼ cup your favorite jam or preserves
- 1 cup finely chopped pecans or almonds (optional, for rolling)
Smart Substitutions: Replace coconut sugar with maple syrup (reduce by half), swap butter for vegan butter for dairy-free option, or use ground walnuts instead of almond flour for a different nutty flavor.
Timing
- Prep Time: 15 minutes
- Cook Time: 12-15 minutes
- Total Time: 30 minutes
Time-Saving Tip: Make the dough up to 2 days ahead and refrigerate. Cold dough actually shapes better and holds its thumbprint indentation perfectly during baking.
How to Make It
1. Prepare Your Workspace
Preheat your oven to 350°F and line a baking sheet with parchment paper. Set up your chopped nuts in a shallow bowl if using them for coating. This preparation step ensures smooth sailing once you start shaping – trust me, you don’t want sticky dough hands fumbling with parchment paper later.
2. Mix the Dough
In a large bowl, cream the softened butter and coconut sugar until light and fluffy, about 2-3 minutes with an electric mixer. Beat in the egg and vanilla until well combined. The mixture should smell wonderfully fragrant and look pale and creamy. Gradually mix in both flours, salt, and baking soda until a soft dough forms. The texture should be slightly sticky but manageable – this moisture creates those tender, melt-in-your-mouth cookies.
3. Shape the Cookies
Roll the dough into 1-inch balls using slightly damp hands to prevent sticking. If using chopped nuts, gently roll each ball in the nuts until coated. Place them on your prepared baking sheet, spacing them about 2 inches apart. The dough will spread slightly, so don’t crowd them.
4. Create the Thumbprints
Using your thumb or the back of a small measuring spoon, press a deep indentation into the center of each cookie. Make it deeper than you think – the cookies will puff up during baking and shallow impressions tend to disappear. You should hear a slight squishing sound as you press, and the edges might crack slightly, which is perfectly normal.
5. Fill and Bake
Spoon about ½ teaspoon of jam into each indentation. Don’t overfill, as the jam will bubble and spread during baking. Slide the baking sheet into your preheated oven and bake for 12-15 minutes, until the edges are lightly golden but centers still look soft. You’ll smell that amazing nutty, buttery aroma wafting through your kitchen when they’re nearly done.
6. Cool and Finish
Let the cookies cool on the baking sheet for 5 minutes before transferring to a wire rack. This brief cooling period allows them to set properly without breaking apart. The jam will be molten hot initially but will thicken as it cools to that perfect jammy consistency.
Nutritional Information
Each gluten-free thumbprint cookie contains approximately 145 calories, 3g protein, 12g carbohydrates, and 9g healthy fats. The almond flour provides vitamin E and magnesium, while keeping these treats naturally gluten-free and protein-rich. Values are approximate and may vary based on specific jam used.
Serving Suggestions
These cookies shine alongside a cup of Earl Grey tea or fresh coffee. Arrange them on a tiered serving tray for elegant afternoon gatherings, or pack them in pretty boxes for holiday gifting. Plan for 2-3 cookies per person – they’re rich and satisfying, so a little goes a long way.
Common Mistakes to Avoid
Overmixing the dough creates tough cookies – mix just until ingredients combine. Skipping the chilling time if your dough feels too soft leads to spreading during baking. Filling thumbprints before baking with cold jam can cause cracking – room temperature jam works better. Underbaking results in fragile cookies that crumble, so look for those lightly golden edges as your guide.
Storing Tips
Store cooled cookies in an airtight container at room temperature for up to one week. For longer storage, freeze them for up to three months in freezer-safe containers. Layer between parchment paper to prevent sticking, and they’ll taste freshly baked when thawed.

Conclusion
These gluten-free thumbprint cookies prove that dietary restrictions don’t mean sacrificing flavor or tradition. With their tender, buttery texture and jewel-like jam centers, they’ll become a beloved addition to your recipe collection. Give them a try and let me know which jam combination becomes your favorite!
FAQs
Can I make these cookies vegan?
Absolutely! Replace the butter with vegan butter and use a flax egg (1 tablespoon ground flaxseed mixed with 3 tablespoons water) instead of the regular egg. The texture remains wonderfully tender.
What’s the best jam for thumbprint cookies?
Raspberry, apricot, and strawberry jams work beautifully, but any preserve with good consistency works. Avoid overly runny jams that might overflow during baking.
Why did my cookies spread too much?
This usually happens when the dough is too warm or butter was overly soft. Chill the shaped cookies for 15 minutes before baking for better shape retention.
Can I freeze the unbaked dough?
Yes! Shape the cookies, make thumbprints, and freeze on baking sheets. Once solid, transfer to freezer bags. Bake directly from frozen, adding 1-2 extra minutes to baking time.
How do I prevent the jam from burning?
Use a jam with lower sugar content if possible, and tent the cookies with foil if browning too quickly. The jam should bubble gently, not caramelize darkly.
Find more delicious recipe inspiration on our Pinterest board for your next baking adventure!