Introduction
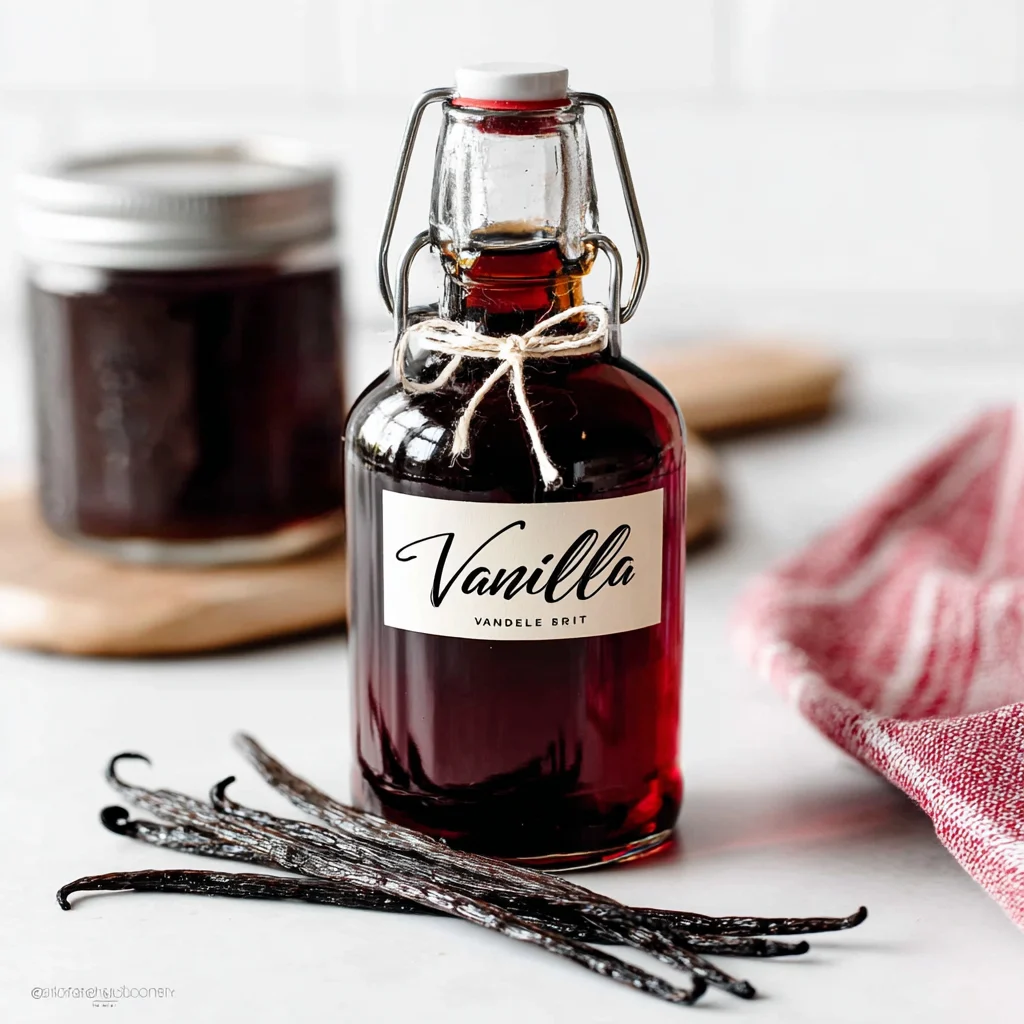
There's something magical about the rich, complex aroma that fills your kitchen when you make homemade vanilla extract. Unlike the store-bought versions that often contain artificial flavors and additives, creating your own vanilla extract connects you to a centuries-old tradition that dates back to the ancient Totonac people of Mexico, who first cultivated vanilla orchids.
Making homemade vanilla extract isn't just about saving money—though you'll certainly do that. It's about crafting a pure, potent flavoring agent that will transform your baking and cooking with its deep, nuanced flavor profile. The process is surprisingly simple, requiring just two ingredients and a bit of patience. What you'll get in return is a premium extract that rivals any expensive bottle from gourmet stores, plus the satisfaction of creating something beautiful from scratch. The best part? Once you start your first batch, you can maintain it indefinitely, adding more beans and alcohol as needed to create a perpetual supply of liquid gold for your culinary adventures.
Ingredients List
Creating exceptional homemade vanilla extract requires just two high-quality ingredients, but choosing the right ones makes all the difference:
Base Ingredients:
- 6-8 premium vanilla beans (Madagascar, Tahitian, or Mexican varieties work beautifully)
- 1 cup high-proof alcohol (vodka, bourbon, or rum – 40% alcohol minimum)
Vanilla Bean Selection Tips:
- Madagascar vanilla beans offer classic, creamy sweetness
- Tahitian beans provide floral, cherry-like notes
- Mexican beans deliver bold, spicy undertones
Alcohol Substitution Options:
- Vodka creates the purest vanilla flavor
- Bourbon adds warm, caramel notes
- Dark rum contributes rich, molasses undertones
- For alcohol-free version: use food-grade vegetable glycerin (though extraction will be less potent)
Equipment Needed:
- Clean 8-ounce glass jar with tight-fitting lid
- Sharp knife for splitting beans
- Fine-mesh strainer (for eventual straining, if desired)
The beauty of this recipe lies in its simplicity—just premium beans meeting quality alcohol in a patient dance of flavor extraction.
Timing
The timeline for homemade vanilla extract requires patience, but the hands-on work is minimal:
Active Preparation Time: 10-15 minutes
Passive Extraction Time: 8-12 weeks minimum
Total Investment: 15 minutes of work, 2-3 months of waiting
Time Management Strategy:
- Start your extract during a busy season when you won't be tempted to use it immediately
- Begin in January for spring baking season, or start in summer for holiday preparations
- Set calendar reminders to shake the jar weekly
Make-Ahead Benefits:
The longer your extract ages, the more complex and rich it becomes. Many bakers maintain jars that are years old, continuously adding beans and alcohol to keep the supply fresh. Consider starting multiple small batches with different alcohol bases to create a personalized extract collection.
Multi-Tasking Opportunities:
While your extract develops, use this time to research new recipes that will showcase your homemade creation. The anticipation makes the final product even more rewarding.
How to Make It
1. Prepare Your Vanilla Beans
Using a sharp knife, slice each vanilla bean lengthwise, leaving about an inch uncut at each end. This creates a split that allows the alcohol to access the flavorful seeds inside while keeping the bean intact. Don't worry about making perfect cuts—rustic splits work just as well. You'll notice the intoxicating aroma immediately as the beans release their essential oils.
2. Combine Beans and Alcohol
Place the split vanilla beans into your clean glass jar, then pour the alcohol over them completely. The beans should be fully submerged to prevent mold growth. If they float to the surface, gently press them down with a clean spoon. The liquid might look pale initially, but don't worry—the magic happens over time.
3. Seal and Begin the Extraction
Secure the jar with its tight-fitting lid and give it a gentle shake to distribute the beans evenly. Label your jar with the date and type of beans used. Store the jar in a cool, dark place like a pantry or cupboard. Direct sunlight can break down the delicate flavor compounds you're working to extract.
4. Develop the Flavor
Shake your jar gently once or twice per week to agitate the mixture and encourage extraction. Watch as the liquid gradually transforms from clear to amber, then to deep brown over the weeks. This color change indicates the flavor compounds are successfully transferring from bean to alcohol.
5. Test and Perfect
After 8 weeks, taste your extract using a clean spoon. The flavor should be rich and complex, not harsh or alcohol-forward. If you prefer a stronger vanilla presence, let it continue aging. For ongoing use, you can begin using the extract while leaving the beans in the jar—they'll continue flavoring the remaining liquid.
Nutritional Information
Homemade vanilla extract is used in such small quantities that its nutritional impact per serving is minimal, but understanding its components helps you make informed choices:
Per Teaspoon (5ml) Serving:
- Calories: Approximately 12-15
- Carbohydrates: Less than 1 gram
- Alcohol content: Varies by base spirit used
- Sugars: Trace amounts from vanilla beans
Key Beneficial Compounds:
Vanilla beans contain vanillin, the primary flavor compound, along with over 250 other organic compounds that contribute to vanilla's complex flavor profile. These natural compounds provide antioxidant properties and may support digestive comfort when consumed in culinary amounts.
Dietary Considerations:
Pure vanilla extract is naturally gluten-free, vegan, and contains no artificial additives. The alcohol content typically evaporates during baking, leaving primarily flavor compounds behind. For those avoiding alcohol, the glycerin-based version provides similar flavoring benefits with different extraction properties.
Health Benefits:
Traditional cultures have used vanilla for its calming aromatherapy properties and potential mood-lifting qualities. While these benefits are subtle in culinary applications, the pure, additive-free nature of homemade extract makes it a healthier choice compared to artificial alternatives.
Healthier Alternatives for the Recipe
Lower Alcohol Options:
If you prefer reduced alcohol content, try using a combination of vodka and vegetable glycerin (3/4 cup alcohol to 1/4 cup glycerin). This creates a slightly thicker extract with mellower alcohol notes while maintaining good extraction power.
Completely Alcohol-Free Version:
Replace alcohol entirely with food-grade vegetable glycerin for a family-friendly option. Note that glycerin extracts flavors more slowly and less completely than alcohol, so extend the extraction time to 12-16 weeks and use 25% more vanilla beans for comparable strength.
Organic and Fair-Trade Options:
Choose certified organic vanilla beans and organic spirits to create an entirely organic extract. Fair-trade vanilla beans support sustainable farming practices and often deliver superior flavor due to careful cultivation methods.
Flavored Variations:
Enhance your basic recipe by adding complementary flavors during extraction: a cinnamon stick for spiced vanilla, orange zest for citrus vanilla, or a vanilla and almond combination using half vanilla beans and a few blanched almonds.
Serving Suggestions
Baking Applications:
Use your homemade vanilla extract in place of store-bought versions at a 1:1 ratio in cookies, cakes, and pastries. The complex flavor particularly shines in simple recipes like sugar cookies, vanilla buttercream, or classic pound cake where vanilla is the star.
Beverage Enhancements:
Add a few drops to coffee, hot chocolate, or homemade cocktails. The depth of flavor creates sophisticated drinks that taste professionally crafted. Try it in white Russians, vanilla old-fashioneds, or simply stirred into your morning latte.
Creative Culinary Uses:
Beyond desserts, vanilla extract enhances savory dishes subtly. Add a teaspoon to homemade barbecue sauce, fruit salad dressings, or roasted root vegetable glazes. The natural sweetness complements caramelized flavors beautifully.
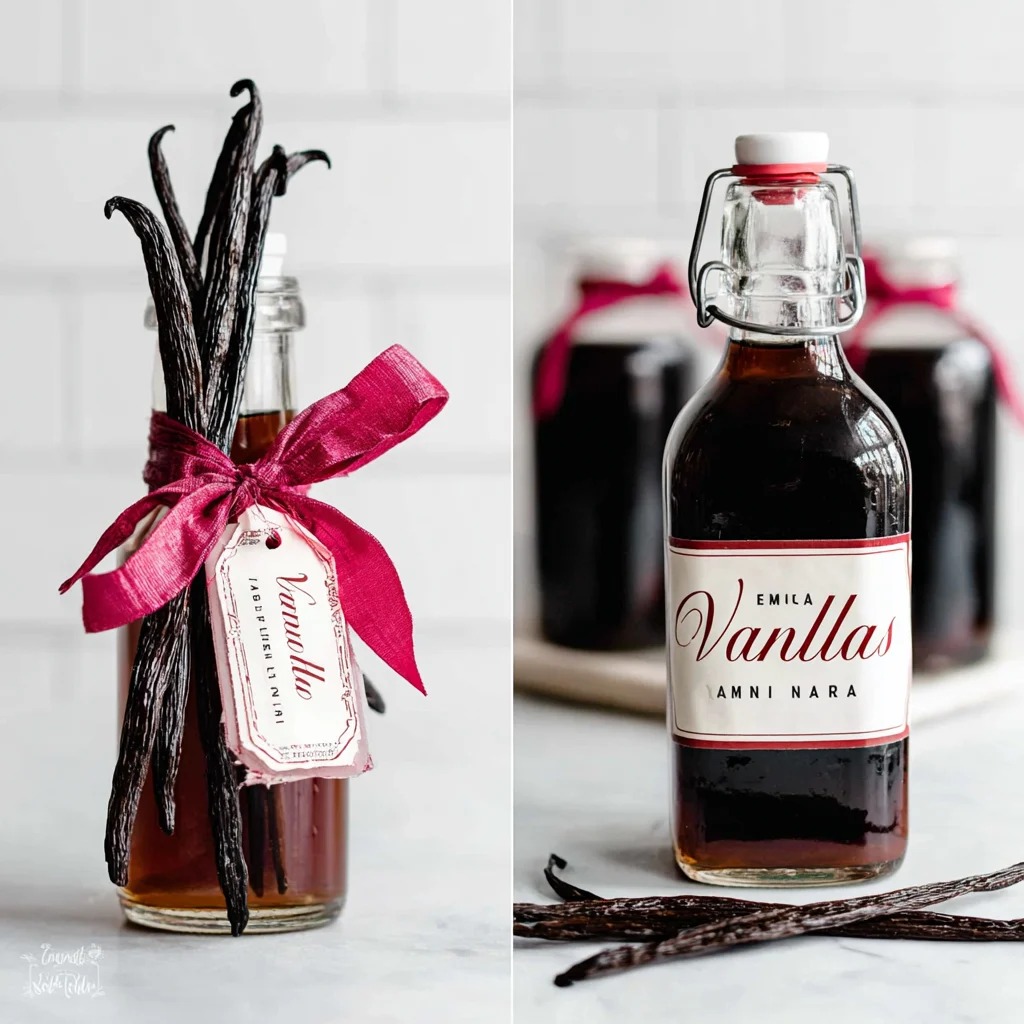
Gift-Giving Ideas:
Pour your extract into small glass bottles for thoughtful homemade gifts. Include the original vanilla beans for visual appeal and continued flavor development. Pair with homemade recipe cards featuring your favorite vanilla-enhanced treats.
Common Mistakes to Avoid
Using Insufficient Alcohol Proof:
Alcohol below 35% won't extract vanilla compounds effectively. Stick to standard 40% spirits or higher for optimal results. Wine and beer don't contain enough alcohol for proper extraction and may spoil.
Rushing the Process:
While you might taste vanilla notes after just a few weeks, true depth develops over months. Resist the urge to use your extract too early—patience rewards you with significantly better flavor complexity.
Improper Storage:
Storing extract in direct light or extreme temperatures can degrade flavor compounds. Keep your jar in a consistently cool, dark environment. Avoid storing near the stove or in sunny windowsills.
Inadequate Bean Preparation:
Failing to split vanilla beans properly limits extraction. Make sure your cuts expose the seed-filled interior to the alcohol. Whole, uncut beans take much longer to release their flavors effectively.
Using Poor Quality Ingredients:
Cheap vanilla beans or low-quality alcohol produce disappointing results. Invest in plump, oily vanilla beans from reputable suppliers and clean-tasting spirits for the best homemade extract.
Storing Tips for the Recipe
Long-Term Storage:
Properly made vanilla extract improves with age and can last indefinitely when stored correctly. Keep the original beans in the jar for continued flavor development. The alcohol acts as a natural preservative, preventing spoilage.
Container Considerations:
Store extract in dark glass containers to protect from light damage. Amber or cobalt blue bottles work excellently. Avoid plastic containers, which can absorb flavors and potentially leach chemicals over time.
Temperature Guidelines:
Room temperature storage in a pantry or cupboard works perfectly. Avoid refrigeration, which can cause cloudiness and doesn't provide any preservation benefits. Freezing is unnecessary and may affect texture.
Replenishing Your Supply:
When your extract level drops by half, add more alcohol and fresh vanilla beans to maintain strength. This "perpetual" method means you'll never run out of extract once you start your first batch.
Portioning for Use:
Transfer small amounts to separate bottles for kitchen use, keeping your main batch sealed and aging. This minimizes exposure to air and light while providing convenient access for cooking and baking.
Conclusion
Creating homemade vanilla extract transforms a simple kitchen staple into a personal culinary signature that elevates every dish you make. The process teaches patience while rewarding you with a pure, complex flavoring that surpasses anything available in stores. Each batch becomes a reflection of your taste preferences and attention to quality.
The beauty of homemade vanilla extract lies not just in its superior flavor, but in the sustainable practice it creates. Once you start your first jar, you're beginning a potentially lifelong supply of premium extract that only gets better with time. This investment in quality ingredients and time pays dividends in every cookie, cake, and creative culinary experiment.
Take that first step toward crafting your own liquid gold—your future baking self will thank you for the patience and care you invest today. Start your extract this week, and begin counting down to the day when your kitchen will smell like vanilla heaven every time you bake.
FAQs
How long does homemade vanilla extract need to age before using?
Minimum aging time is 8 weeks for basic flavor development, but 3-6 months creates significantly more complex, rounded flavors. The extract continues improving even after you start using it, so don't worry about waiting for "perfect" timing.
Can I reuse vanilla beans after making extract?
Absolutely! Leave the original beans in your jar for continued flavor development. You can also rinse and dry used beans to make vanilla sugar, or scrape remaining seeds for direct use in recipes requiring vanilla bean specks.
What's the best alcohol to use for vanilla extract?
Vodka creates the purest vanilla flavor, while bourbon adds caramel notes and rum contributes molasses undertones. Choose based on your flavor preferences and intended uses. Avoid flavored spirits that might compete with vanilla.
How do I know if my vanilla extract has gone bad?
Properly made vanilla extract with adequate alcohol content doesn't spoil. Signs of problems include mold growth (from insufficient alcohol coverage), off odors, or cloudiness. Well-made extract actually improves indefinitely with proper storage.
Can I speed up the extraction process?
While you can't rush true flavor development, gentle warming helps initial extraction. Place your sealed jar in a barely warm oven (under 200°F) for a few hours, or use a slow cooker's "warm" setting. However, time still creates the best complexity.
How much extract should I make at once?
Start with one 8-ounce jar to learn the process, then scale up based on your usage. Active bakers often maintain multiple jars with different alcohol bases or bean varieties for varied flavor profiles in different recipes.