Introduction
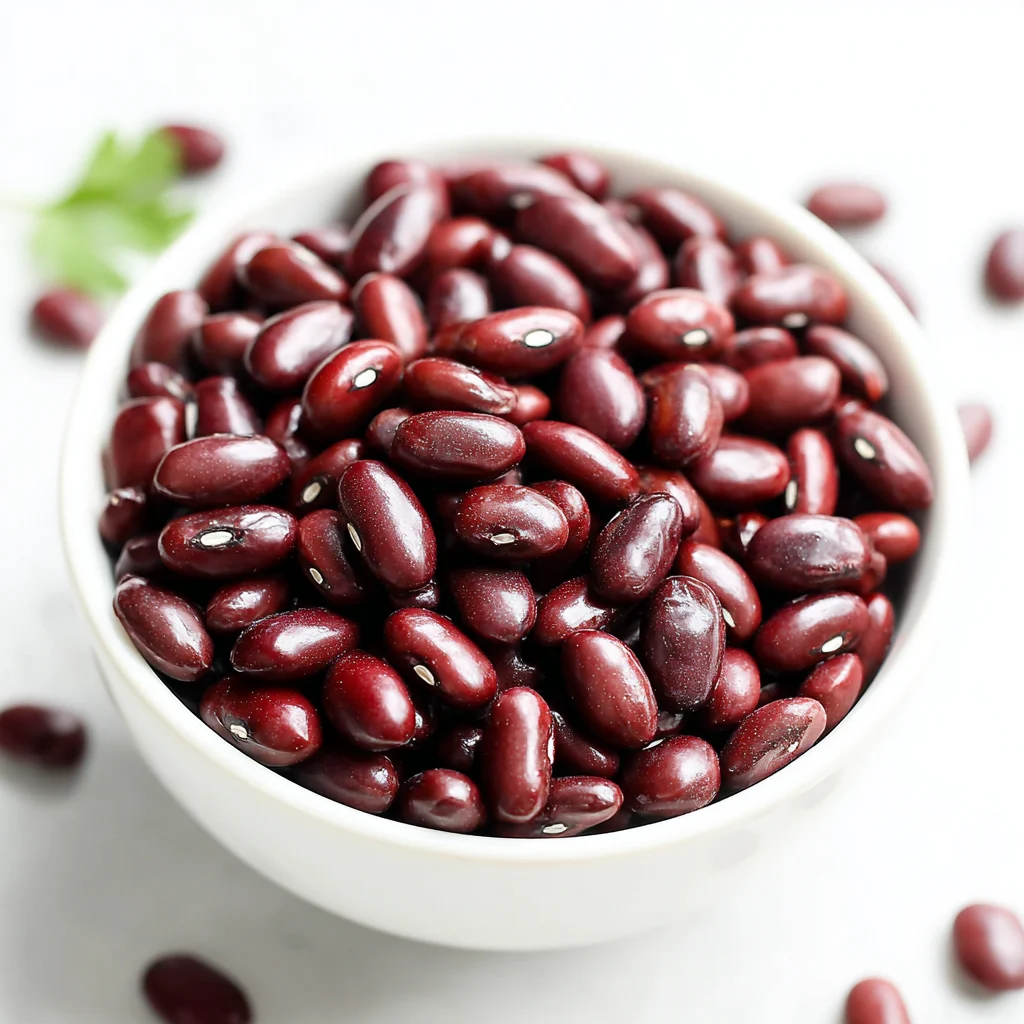
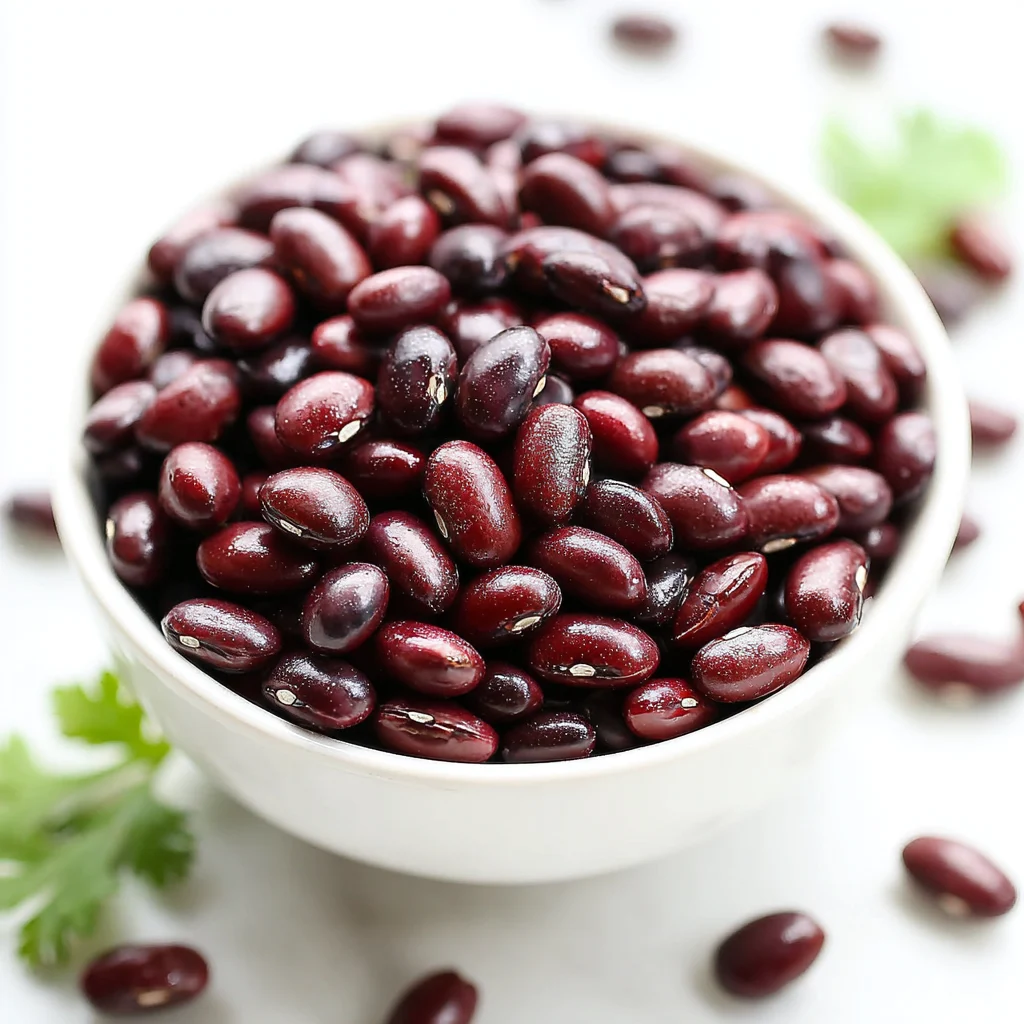
Growing up in my grandmother’s kitchen, I watched her slowly simmer adzuki beans for hours, the earthy aroma filling the entire house. Today, making perfect Instant Pot adzuki beans takes just 30 minutes with the same incredible results. These small red beans, beloved in Asian cuisine, transform from hard little gems into creamy, tender morsels that practically melt in your mouth. The pressure cooker method eliminates the guesswork and lengthy cooking times, delivering consistently perfect beans every single time.
Ingredients List
For the Beans:
- 1 cup dried adzuki beans
- 3 cups water or vegetable broth
- 1 teaspoon salt
- 1 bay leaf
- 1 tablespoon olive oil
Optional Seasonings:
- 1 small onion, diced
- 2 cloves garlic, minced
- 1 teaspoon ginger, grated
Substitutions: Use vegetable or chicken broth instead of water for richer flavor. Coconut oil works wonderfully in place of olive oil for a subtle tropical note. If adzuki beans aren’t available, try navy beans or black beans with similar cooking times.
Timing
- Prep Time: 5 minutes
- Cook Time: 25 minutes (plus natural pressure release)
- Total Time: 30 minutes
Time-Saving Tip: Sort and rinse your beans the night before, then store them covered in the refrigerator. This eliminates morning prep time when you’re ready to cook.
How to Make It
1. Prepare the Beans
Rinse your adzuki beans under cold running water, removing any debris or damaged beans. You’ll hear the gentle sound of water cascading through the colander as you swish the beans around. Look for the beans to appear clean and uniform in color – a deep reddish-brown that signals freshness. This rinsing step removes surface dust and ensures even cooking by eliminating any beans that might cook differently.
2. Sauté the Aromatics (Optional)
Set your Instant Pot to sauté mode and heat the olive oil until it shimmers. Add diced onion and listen for that satisfying sizzle as it hits the hot oil. Cook for 2-3 minutes until the onion becomes translucent and releases its sweet aroma. Add minced garlic and grated ginger, stirring for another 30 seconds until fragrant. This foundation creates incredible depth of flavor that penetrates the beans during pressure cooking.
3. Add Beans and Liquid
Pour the rinsed adzuki beans into your Instant Pot, hearing them scatter across the bottom with a gentle rattling sound. Add water or broth – the liquid should cover the beans by about an inch. Drop in the bay leaf and add salt, which helps the beans maintain their shape while cooking. The mixture should look like a hearty soup base at this stage.
4. Pressure Cook the Beans
Secure the Instant Pot lid and set the valve to sealing position. Select high pressure and set the timer for 20 minutes. You’ll hear the initial hissing as the pot comes to pressure, followed by the steady rhythm of pressure cooking. The Instant Pot will work its magic, transforming those firm beans into creamy perfection while you attend to other tasks.
5. Natural Pressure Release
When the cooking cycle completes, allow natural pressure release for 10 minutes before manually releasing any remaining pressure. This gentle pressure reduction prevents the bean skins from splitting and maintains their beautiful shape. You’ll know they’re perfectly cooked when they yield easily to gentle pressure but still hold their form – creamy inside with intact, tender skins.
6. Final Seasoning
Remove the bay leaf and taste your beans, adjusting salt as needed. The cooking liquid should be slightly thickened and richly flavored. If you prefer a thicker consistency, use the sauté function to reduce the liquid for a few minutes, stirring occasionally to prevent sticking.
Nutritional Information
Each half-cup serving contains approximately 115 calories, 8g protein, 20g carbohydrates, and less than 1g fat. Adzuki beans provide excellent fiber, folate, and potassium while remaining naturally low in sodium and fat.
Serving Suggestions
Serve your pressure cooker adzuki beans over steamed rice with a drizzle of sesame oil, or incorporate them into grain bowls with roasted vegetables. They pair beautifully with grilled fish or chicken. For presentation, garnish with fresh scallions and a sprinkle of sesame seeds.
Common Mistakes to Avoid
Don’t skip the rinsing step – unwashed beans can create excess foam during cooking. Avoid adding acidic ingredients like tomatoes or vinegar during pressure cooking, as they prevent proper softening. Never fill your Instant Pot more than halfway with beans and liquid to prevent clogging the pressure valve. Finally, resist the urge to quick-release pressure immediately, which can cause the beans to split and become mushy.
Storing Tips
Refrigerate cooked adzuki beans in their cooking liquid for up to 5 days in airtight containers. For longer storage, freeze portions for up to 3 months. Reheat gently on the stovetop with a splash of water or broth to restore their creamy texture.
Conclusion
This foolproof Instant Pot method transforms humble dried beans into a versatile, protein-rich foundation for countless meals. The hands-off cooking approach makes weeknight dinners effortless while delivering restaurant-quality results that will impress your family and friends.
FAQs
Do I need to soak adzuki beans before pressure cooking?
No soaking required! The Instant Pot cooks dried adzuki beans perfectly without pre-soaking, making this recipe incredibly convenient for busy schedules.
Can I cook other beans using this same method?
Yes, but adjust timing accordingly. Black beans need 22-25 minutes, while chickpeas require 35-40 minutes. The liquid ratios remain the same for most bean varieties.
Why are my beans still hard after cooking?
Old beans or hard water can cause this issue. Try cooking for an additional 5 minutes under pressure, or add a pinch of baking soda to soften stubborn beans.
Can I freeze cooked adzuki beans?
Absolutely! Freeze beans with their cooking liquid in portion-sized containers. They’ll maintain quality for up to three months and thaw beautifully for future meals.
What’s the best way to prevent foaming during cooking?
Add a tablespoon of oil to the pot before cooking. This reduces foam formation and helps prevent potential valve clogging during the pressure cooking process.
For more delicious pressure cooker recipe inspiration, explore our complete collection of tested and perfected dishes.