Introduction
There’s something magical about the first bite of a perfectly golden grilled cheese sandwich – that satisfying crunch giving way to molten, stretchy cheese. But let’s be honest: standing over a hot skillet, flipping sandwiches one by one, can be tedious, especially when feeding a crowd. That’s where oven-baked grilled cheese becomes your kitchen game-changer.
This brilliant technique transforms the classic comfort food experience by moving the entire operation to your oven. Instead of babysitting individual sandwiches on the stovetop, you can prepare multiple servings simultaneously, achieving that coveted crispy exterior and gooey interior we all crave. The even heat distribution creates consistently perfect results, while freeing you up to prepare sides or simply relax.
What makes this method truly special is how it maintains all the beloved characteristics of traditional grilled cheese while adding convenience and scalability. Whether you’re cooking for your family on a busy weeknight or hosting a casual gathering, oven-baked grilled cheese delivers that nostalgic comfort food satisfaction without the kitchen stress.
Ingredients List
Base Ingredients:
- 8 slices of bread (sourdough, whole wheat, or white bread work beautifully)
- 8-12 ounces cheese, sliced or grated (sharp cheddar, Gruyère, or American cheese)
- 4 tablespoons butter, softened to room temperature
Flavor Enhancers:
- 1 tablespoon mayonnaise (optional, for extra golden crust)
- 1/2 teaspoon garlic powder (optional)
- Fresh herbs like thyme or rosemary (optional)
Substitution Ideas:
For gluten-free diets, use your favorite gluten-free bread. Dairy-free alternatives work well with plant-based butter and vegan cheese. Those watching calories can substitute cooking spray for butter, though you’ll sacrifice some richness. Cream cheese mixed with shredded cheese creates an incredibly creamy filling, while adding sliced tomatoes or caramelized onions elevates the flavor profile without compromising the classic appeal.
Timing
Total Time: 20-25 minutes
- Prep Time: 8-10 minutes
- Cooking Time: 12-15 minutes
The beauty of this method lies in its efficiency. While your oven preheats, you’ll have plenty of time to butter bread and arrange cheese. The actual baking time allows you to prepare a simple tomato soup, slice fresh fruit, or tidy up your workspace.
Time-Saving Tips: Butter can be softened quickly by placing it near your warming oven. If making multiple batches, prepare all sandwiches at once and bake in succession. These sandwiches also reheat beautifully, making them perfect for meal prep or busy mornings when you can prepare them the night before.
How to Make It
1. Preheat and Prepare Your Workspace
Start by preheating your oven to 425°F (220°C). Line a large baking sheet with parchment paper – this prevents sticking and makes cleanup effortless. The parchment also helps achieve even browning across the bottom of your sandwiches.
2. Prepare the Bread
Lay out your bread slices on a clean surface. Take your softened butter and spread it evenly on one side of each slice, reaching all the way to the edges. This edge-to-edge coverage ensures every bite has that rich, golden crust. If using mayonnaise for extra browning, mix it with the butter before spreading.
3. Add the Cheese
Place your cheese on the unbuttered side of four bread slices. Don’t be shy with the cheese – generous coverage creates those irresistible cheese pulls. If using harder cheeses like Gruyère, slightly overlap slices for even melting. Shredded cheese works wonderfully too, creating a more uniform melt.
4. Assemble the Sandwiches
Top with remaining bread slices, buttered side facing outward. Gently press down to help everything adhere, but don’t compress too firmly – you want the cheese to have room to melt and expand.
5. Bake to Golden Perfection
Place assembled sandwiches on your prepared baking sheet, ensuring they don’t touch. Bake for 6-7 minutes, then carefully flip each sandwich using a spatula. Return to oven for another 5-8 minutes until both sides achieve a beautiful golden brown color and the cheese is visibly melted around the edges.
6. Rest and Serve
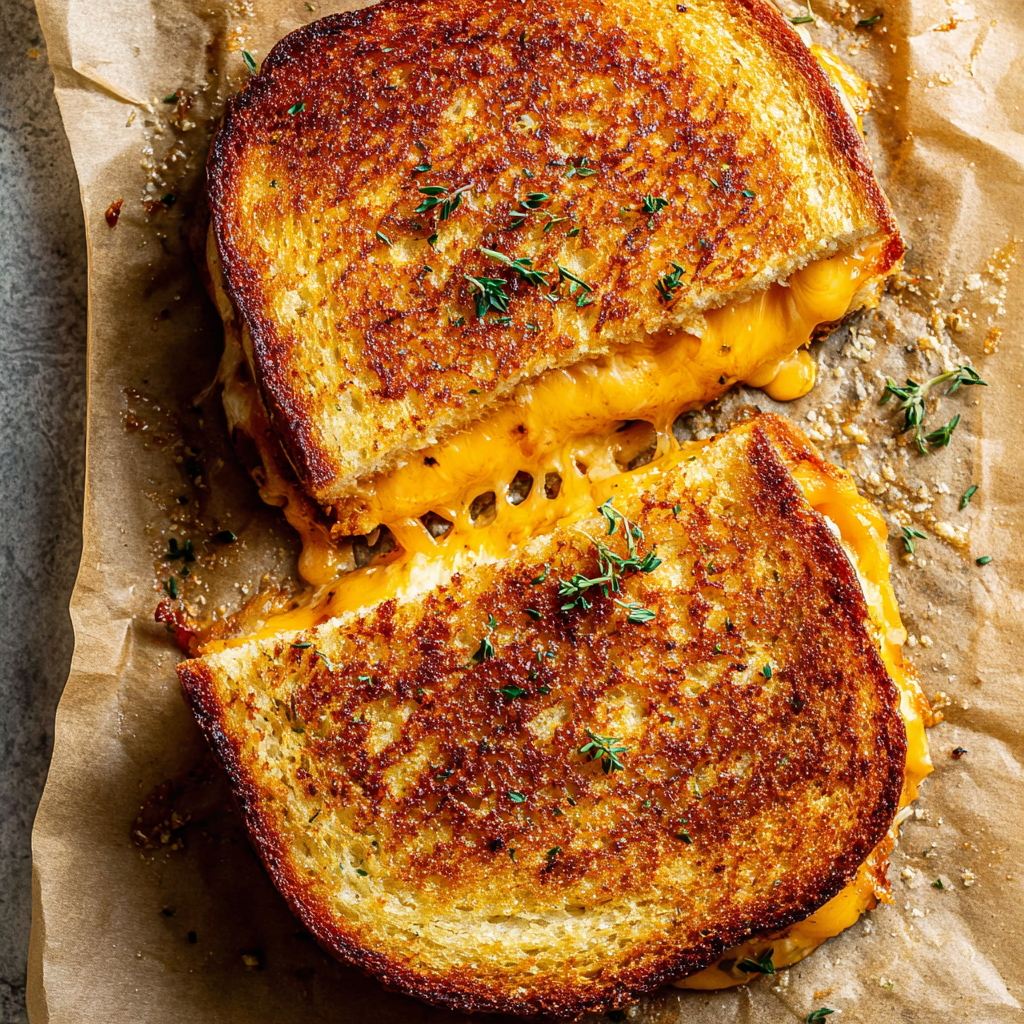
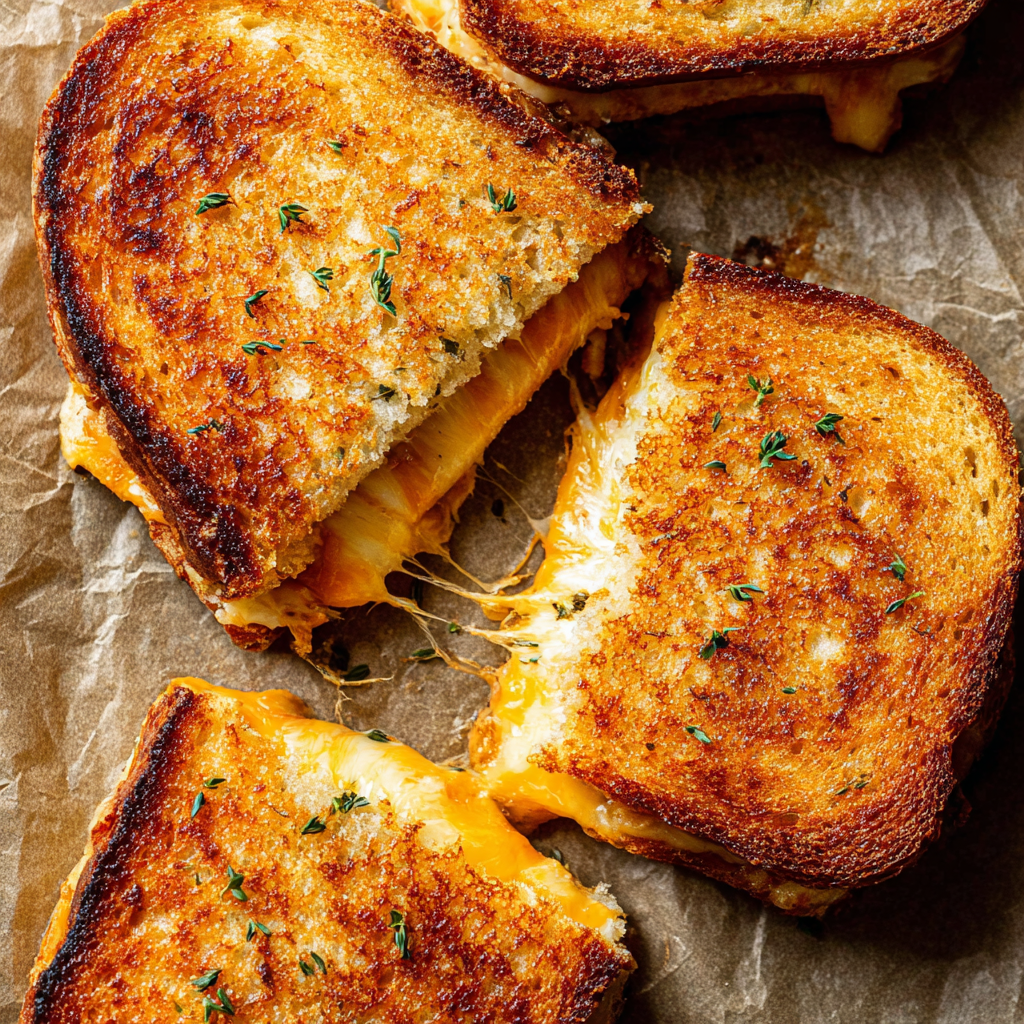
Let sandwiches cool for 2-3 minutes before cutting – this brief rest prevents the molten cheese from completely running out when sliced. Cut diagonally for that classic presentation and serve immediately while the cheese is still stretchy and warm.
Nutritional Information
Each oven-baked grilled cheese sandwich provides approximately 380-450 calories, depending on bread and cheese choices. You’ll get a good source of calcium from the cheese, supporting bone health, plus protein for sustained energy. The combination of carbohydrates from bread and fats from butter and cheese creates a satisfying meal that helps curb hunger.
Cheese contributes valuable nutrients including vitamin B12, phosphorus, and selenium. Whole grain bread options add fiber and B vitamins to boost the nutritional profile. While this comfort food isn’t low-calorie, it provides genuine satisfaction and can fit into a balanced diet when paired with lighter sides like fresh vegetables or fruit.
Remember that nutritional values vary based on specific ingredients chosen – artisanal breads and aged cheeses will have different profiles than standard varieties.
Healthier Alternatives for the Recipe
Lighter Options: Replace butter with a light coating of olive oil spray, reducing calories while maintaining crispiness. Use reduced-fat cheese or mix regular cheese with a small amount of cream cheese to maintain richness while cutting some calories.
Gluten-Free Version: Substitute with your preferred gluten-free bread, though you may need to adjust baking time as these breads can brown more quickly.
Plant-Based Adaptation: Use vegan butter alternatives and cashew-based or other plant-based cheeses. Nutritional yeast sprinkled on the butter adds a cheesy flavor boost.
Fiber-Rich Variation: Choose whole grain or seeded breads, and consider adding thin slices of apple or pear for natural sweetness and extra fiber.
Lower Sodium: Opt for unsalted butter and low-sodium cheese varieties, especially important if serving to those monitoring salt intake.
Serving Suggestions
Classic tomato soup remains the perfect partner, but consider branching out with butternut squash soup or a light salad with vinaigrette to balance the richness. Fresh fruit like apple slices or grapes provide a refreshing contrast.
For casual entertaining, cut sandwiches into triangles or strips for easy sharing. A pickle spear adds tangy crunch that cuts through the cheese’s richness. Consider serving alongside sweet potato fries or roasted vegetables for a more substantial meal.
Seasonal variations work beautifully – add thin apple slices in fall, or include fresh basil and tomato in summer for a caprese-inspired twist.
Common Mistakes to Avoid
Under-buttering the edges leads to uneven browning and potential sticking. Using cold butter makes spreading difficult and can tear delicate bread. Overcrowding the baking sheet prevents proper air circulation and even cooking.
Skipping the flip results in uneven browning, while cutting immediately causes cheese loss. Using only soft cheeses can create a mess, so balance soft varieties with firmer options.
Wrong oven temperature is crucial – too hot burns the outside before cheese melts, while too cool results in dried-out sandwiches without proper browning.
Storing Tips for the Recipe
Immediate Storage: Cool completely before refrigerating in an airtight container for up to 3 days. Layer with parchment paper to prevent sticking.
Reheating: The oven method works best for maintaining crispiness – reheat at 350°F for 5-7 minutes. Toaster ovens work excellently for single servings. Avoid microwaving as it creates soggy bread.
Make-Ahead Option: Assemble sandwiches and refrigerate up to 24 hours before baking. Add 2-3 extra minutes to baking time when cooking from cold.
Freezing: While not ideal, cooked sandwiches can be frozen for up to 1 month. Wrap individually and reheat directly from frozen in a 350°F oven for 10-12 minutes.
Conclusion
This oven-baked grilled cheese method revolutionizes a beloved classic, delivering all the comfort and satisfaction you crave with added convenience and consistency. The technique is forgiving enough for beginners yet efficient enough for experienced cooks feeding groups.
The beauty lies in its simplicity – basic ingredients transformed through proper technique into something truly satisfying. Each bite delivers that perfect contrast of crispy, buttery exterior and molten, stretchy cheese interior that defines great grilled cheese.
Give this method a try for your next comfort food craving or casual gathering. The convenience factor alone makes it worth adding to your regular rotation, and once you experience the consistently perfect results, you might find yourself preferring this approach to the traditional stovetop method.
FAQs
Can I make these sandwiches ahead of time?
Yes, assemble sandwiches and refrigerate up to 24 hours before baking. Add a few extra minutes to the cooking time to account for the cold start.
What’s the best cheese combination for melting?
Sharp cheddar mixed with a bit of mozzarella creates excellent melt and flavor. Gruyère with fontina is another winning combination that melts beautifully.
Why do my sandwiches get soggy on the bottom?
This usually happens from insufficient preheating or overcrowding the pan. Ensure your oven is fully preheated and leave space between sandwiches for air circulation.
Can I use different types of bread?
Absolutely! Sourdough, whole wheat, rye, and even bagels work well. Adjust timing slightly for thicker breads, which may need an extra minute or two.
How do I prevent the cheese from leaking out?
Don’t overfill sandwiches, and make sure cheese doesn’t extend beyond bread edges. A light press before baking helps seal the edges naturally.
What temperature is too high for baking these?
Above 450°F typically burns the outside before the cheese fully melts. Stick to 425°F for the best balance of browning and melting.