
Introduction
Nothing transforms a simple meal quite like the bright, tangy crunch of pickled red onion. I discovered this culinary game-changer during a busy weeknight when my tacos needed something special. These vibrant purple ribbons pack an incredible punch – they’re sweet, sour, and refreshingly crisp all at once. The best part? This quick pickle method takes just 15 minutes to prepare, and the flavor develops beautifully while you finish cooking dinner. Unlike store-bought versions loaded with preservatives, homemade pickled red onions let you control every element, creating the perfect balance of acidity and sweetness that elevates everything from grain bowls to grilled meats.
Ingredients List
- 1 large red onion (about 8 ounces), thinly sliced
- 1/2 cup white vinegar
- 1/2 cup warm water
- 2 tablespoons granulated sugar
- 1 teaspoon kosher salt
- 1 bay leaf
- 1/2 teaspoon black peppercorns
Substitutions: Apple cider vinegar works beautifully in place of white vinegar for a mellower flavor. If you prefer less sweetness, reduce sugar to 1 tablespoon. No bay leaf? A pinch of dried oregano adds lovely herbal notes.
Timing
Prep time: 10 minutes
Cook time: 5 minutes
Total time: 15 minutes (plus 30 minutes for optimal flavor development)
Make-ahead tip: These pickled red onions actually improve with time. Prepare them in the morning for dinner, or make a batch on Sunday for the entire week.
How to Make It
1. Prepare the Onions
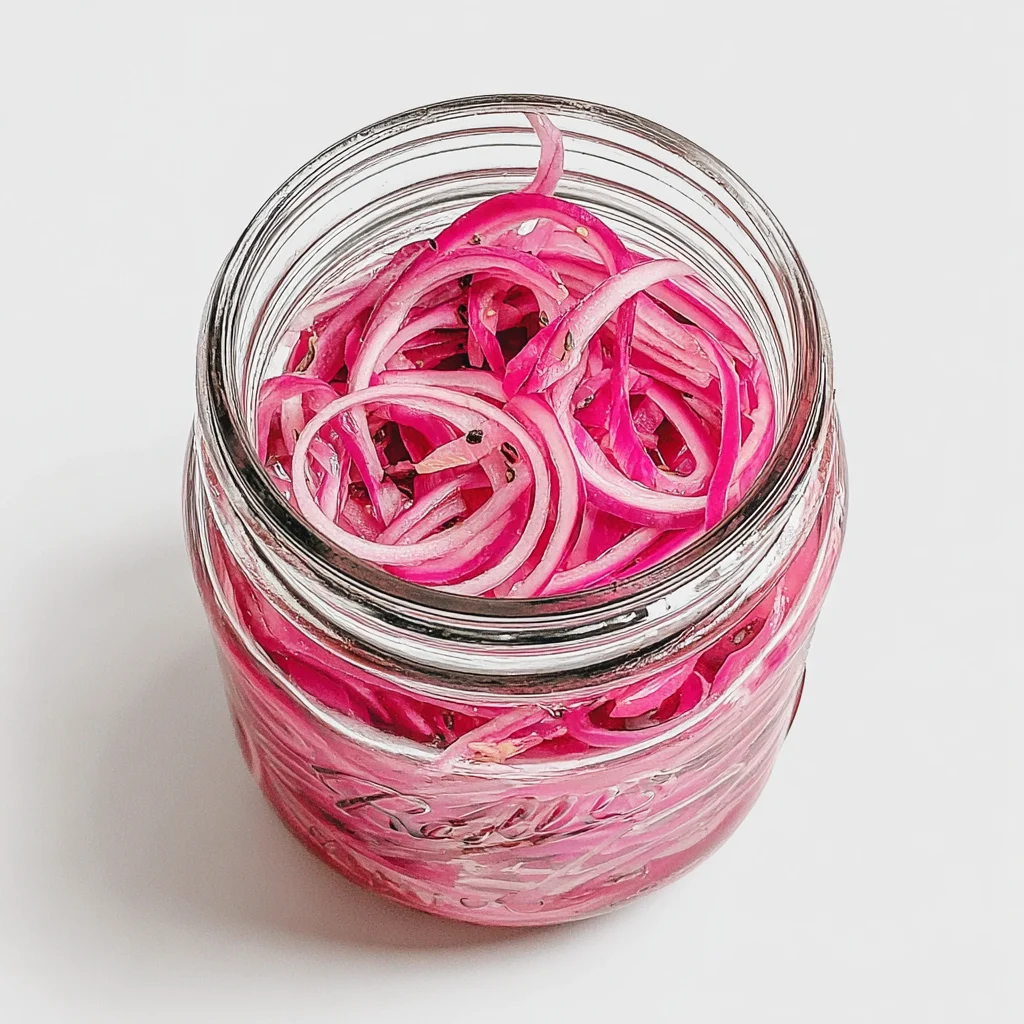
Slice your red onion into thin half-moons, about 1/8-inch thick. The key here is consistency – uniform slices ensure even pickling. You’ll notice the onion’s natural sharpness hits your nose; don’t worry, the pickling process will mellow this beautifully. Place the sliced onions in a clean mason jar or glass bowl. The natural purple pigments will soon create that stunning magenta brine we’re after.
2. Create the Pickling Brine
In a small saucepan, combine the white vinegar, warm water, sugar, and salt. Add the bay leaf and peppercorns for aromatic depth. Heat over medium heat, stirring occasionally until you see gentle bubbles forming around the edges – don’t let it boil vigorously. You’ll know it’s ready when the sugar and salt completely dissolve, creating a clear, fragrant liquid. This process takes about 3-4 minutes and fills your kitchen with a pleasant, tangy aroma.
3. Combine and Watch the Magic
Pour the hot brine directly over the sliced onions. The immediate reaction is spectacular – watch as the deep purple onions brighten to brilliant magenta within seconds. This color transformation happens because the acid in the vinegar reacts with the onion’s natural pigments. Use a clean spoon to gently press the onions down, ensuring they’re completely submerged. The liquid should cover the onions by at least half an inch.
4. Cool and Develop Flavor
Allow the pickled red onion mixture to cool to room temperature, about 15 minutes. During this time, you’ll notice the onions softening slightly while maintaining their crisp texture. The brine develops a gorgeous deep pink color, and the sharp onion bite transforms into something tangy and sweet. For best results, let them sit for at least 30 minutes before serving, though they’re perfectly edible immediately.
5. Final Adjustments
Taste your pickled onions after the initial resting period. The flavor should be balanced – tangy without being harsh, with a gentle sweetness that doesn’t overpower. If you prefer more acidity, add a tablespoon of vinegar. For extra sweetness, stir in another teaspoon of sugar until dissolved. The texture should be tender-crisp, maintaining some bite while being pleasantly softened by the acid.
Nutritional Information
Per 2-tablespoon serving: approximately 15 calories, 0g protein, 4g carbohydrates, 0g fat. These pickled onions provide small amounts of vitamin C and beneficial probiotics from the fermentation process. Values are approximate and may vary based on ingredient brands.
Serving Suggestions
These versatile pickled red onions shine on tacos, burrito bowls, and grilled fish. Try them scattered over avocado toast or mixed into grain salads for instant brightness. A small fork alongside makes serving elegant and mess-free. Plan for about 2-3 tablespoons per person as a condiment.
Common Mistakes to Avoid
Don’t slice onions too thick – they won’t pickle evenly and remain overly sharp. Avoid boiling the brine vigorously, which can make it cloudy and too acidic. Never use metal containers or lids for storage, as acid will react with the metal. Finally, resist the urge to skip the resting time – patience rewards you with perfectly balanced flavor that harsh, immediate pickles simply can’t match.
Storing Tips
Store pickled red onions in the refrigerator for up to two weeks in a glass jar with tight-fitting lid. Always use clean utensils when serving to prevent contamination. The flavor actually improves after 24 hours, making them perfect for meal prep.
Conclusion
This simple pickled red onion recipe proves that the most impactful dishes often require the least effort. With just a few pantry staples and 15 minutes, you’ll have a condiment that transforms ordinary meals into something memorable. Give this recipe a try and discover how these tangy, colorful onions become your new secret weapon.
FAQs
Can I use other types of onions?
Yellow or white onions work well, though they lack red onions’ beautiful color transformation. Sweet onions like Vidalia create milder pickles perfect for sensitive palates.
How quickly can I use them?
While edible immediately, pickled red onions taste best after 30 minutes. The flavors meld beautifully, and the initial sharpness mellows into perfect tanginess.
Can I add other spices?
Absolutely! Try adding sliced jalapeños for heat, fresh thyme for earthiness, or a cinnamon stick for warm spice. Customize the flavors to match your preferred dishes.
Why did my brine turn cloudy?
Cloudy brine usually results from boiling too vigorously or using table salt instead of kosher salt. The pickles are still safe to eat, just less visually appealing.
Do these need to be processed for long-term storage?
This quick pickle method creates refrigerator pickles, not shelf-stable ones. For long-term storage, you’d need proper canning techniques and tested recipes for food safety.